Pyramid Shelter
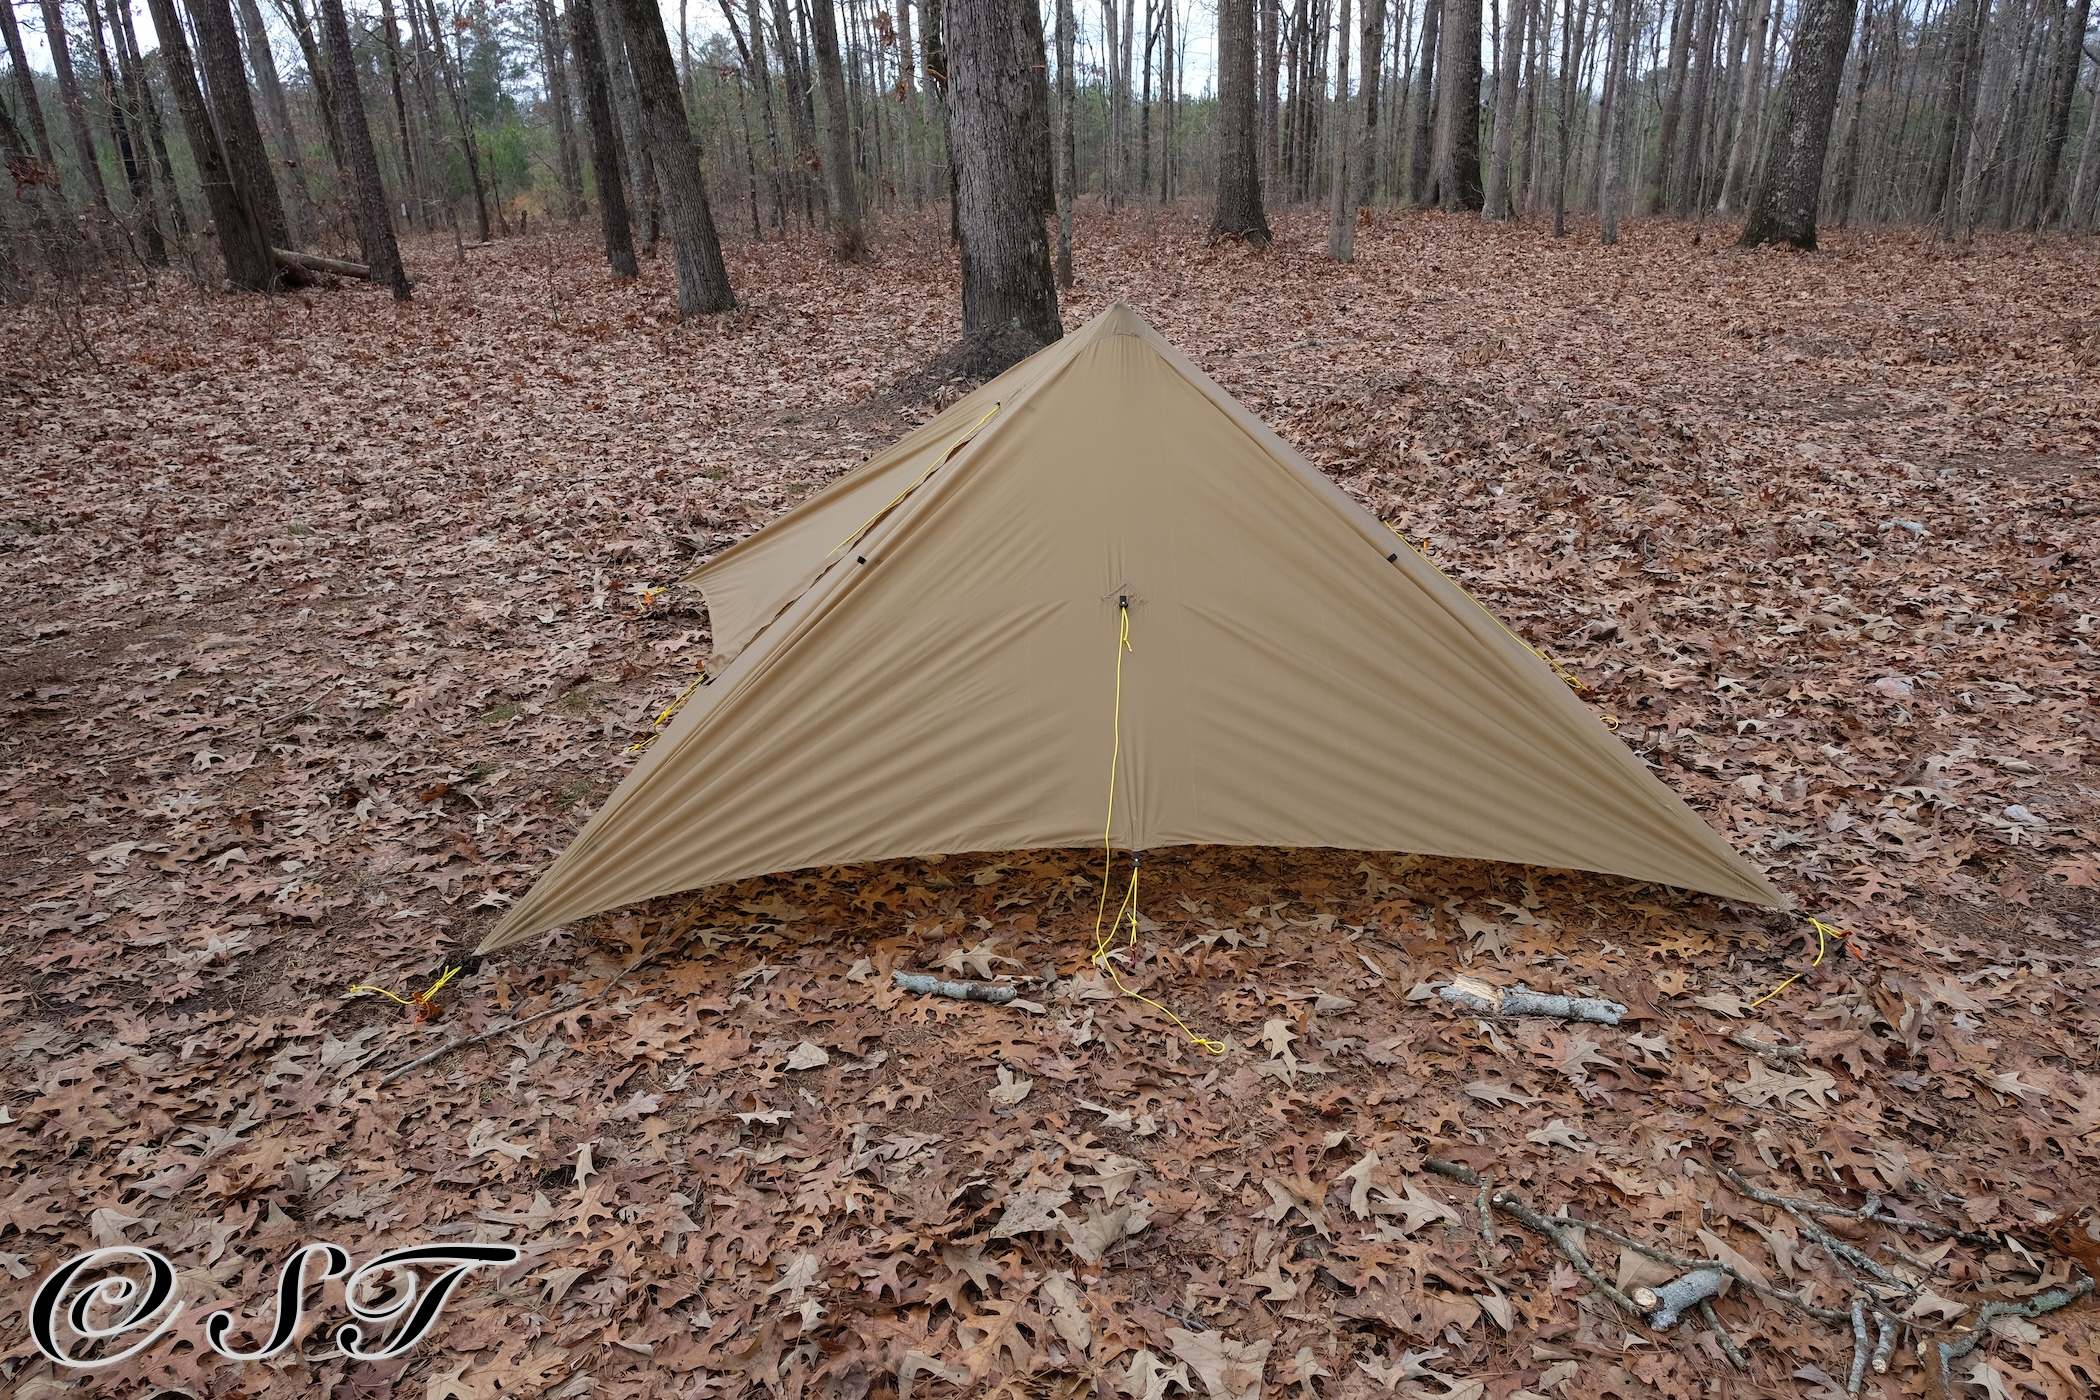
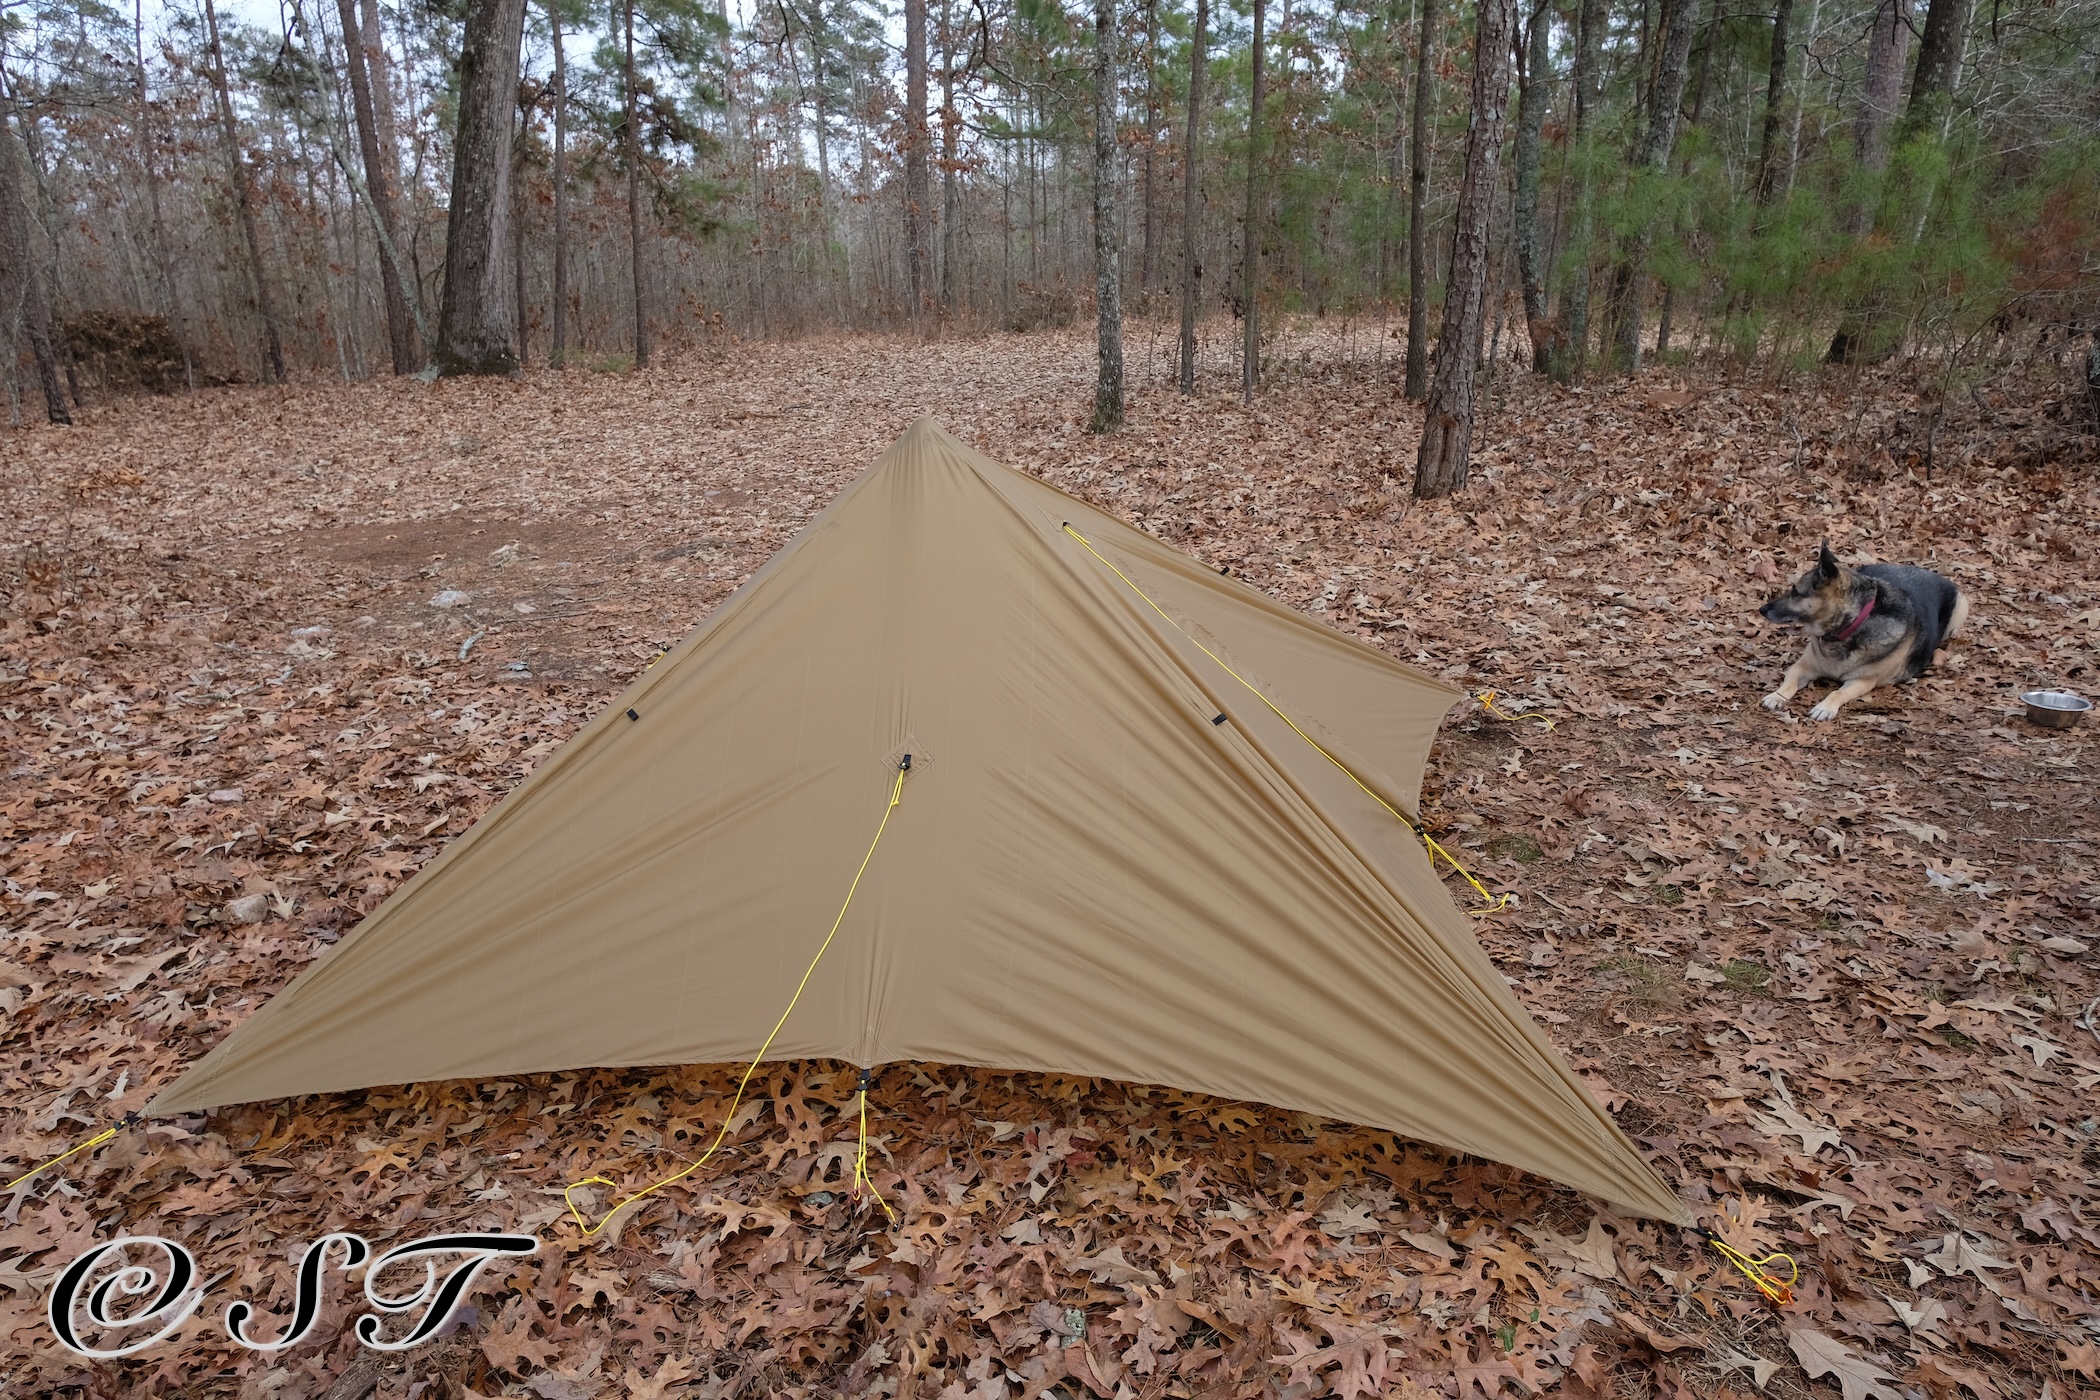
Intro: I have made many shelters in the past. Like a one person tarp-tent 9 years ago, a pyramid shelter 5 years ago, and many tarps. After I finished my quilt project, I started working on a new shelter. At this point I am more inclined towards a simple tarp system, like Ray Way tarp or Frank Revelo design tarp. But the fabric I got is Khaki Silpoly, and I have a nice green Silnylon tarp. I would prefer a light color tarp as my second tarp, so I decided to make a pyramid tent. A pyramid is not as roomy as a design like Durston Xmid, or two pole tarp tents, but I only carry one trekking pole - if I carry any- and it is winter. So Pyramid it is, until I make a new tarp for summer. Another important factor is Twyla. A pyramid shelter may stop her from chasing any moving object through night.
Part I- Components:
- 1.1 ripstop Silpoly
- Hardware and webbing,I had many left over from other projects. The main item is nylon webbing - 1/2 inch-, or grosgrain webbing for a light design. I also used LinLoc. It is optional and adds some weight, but I think it worth it.
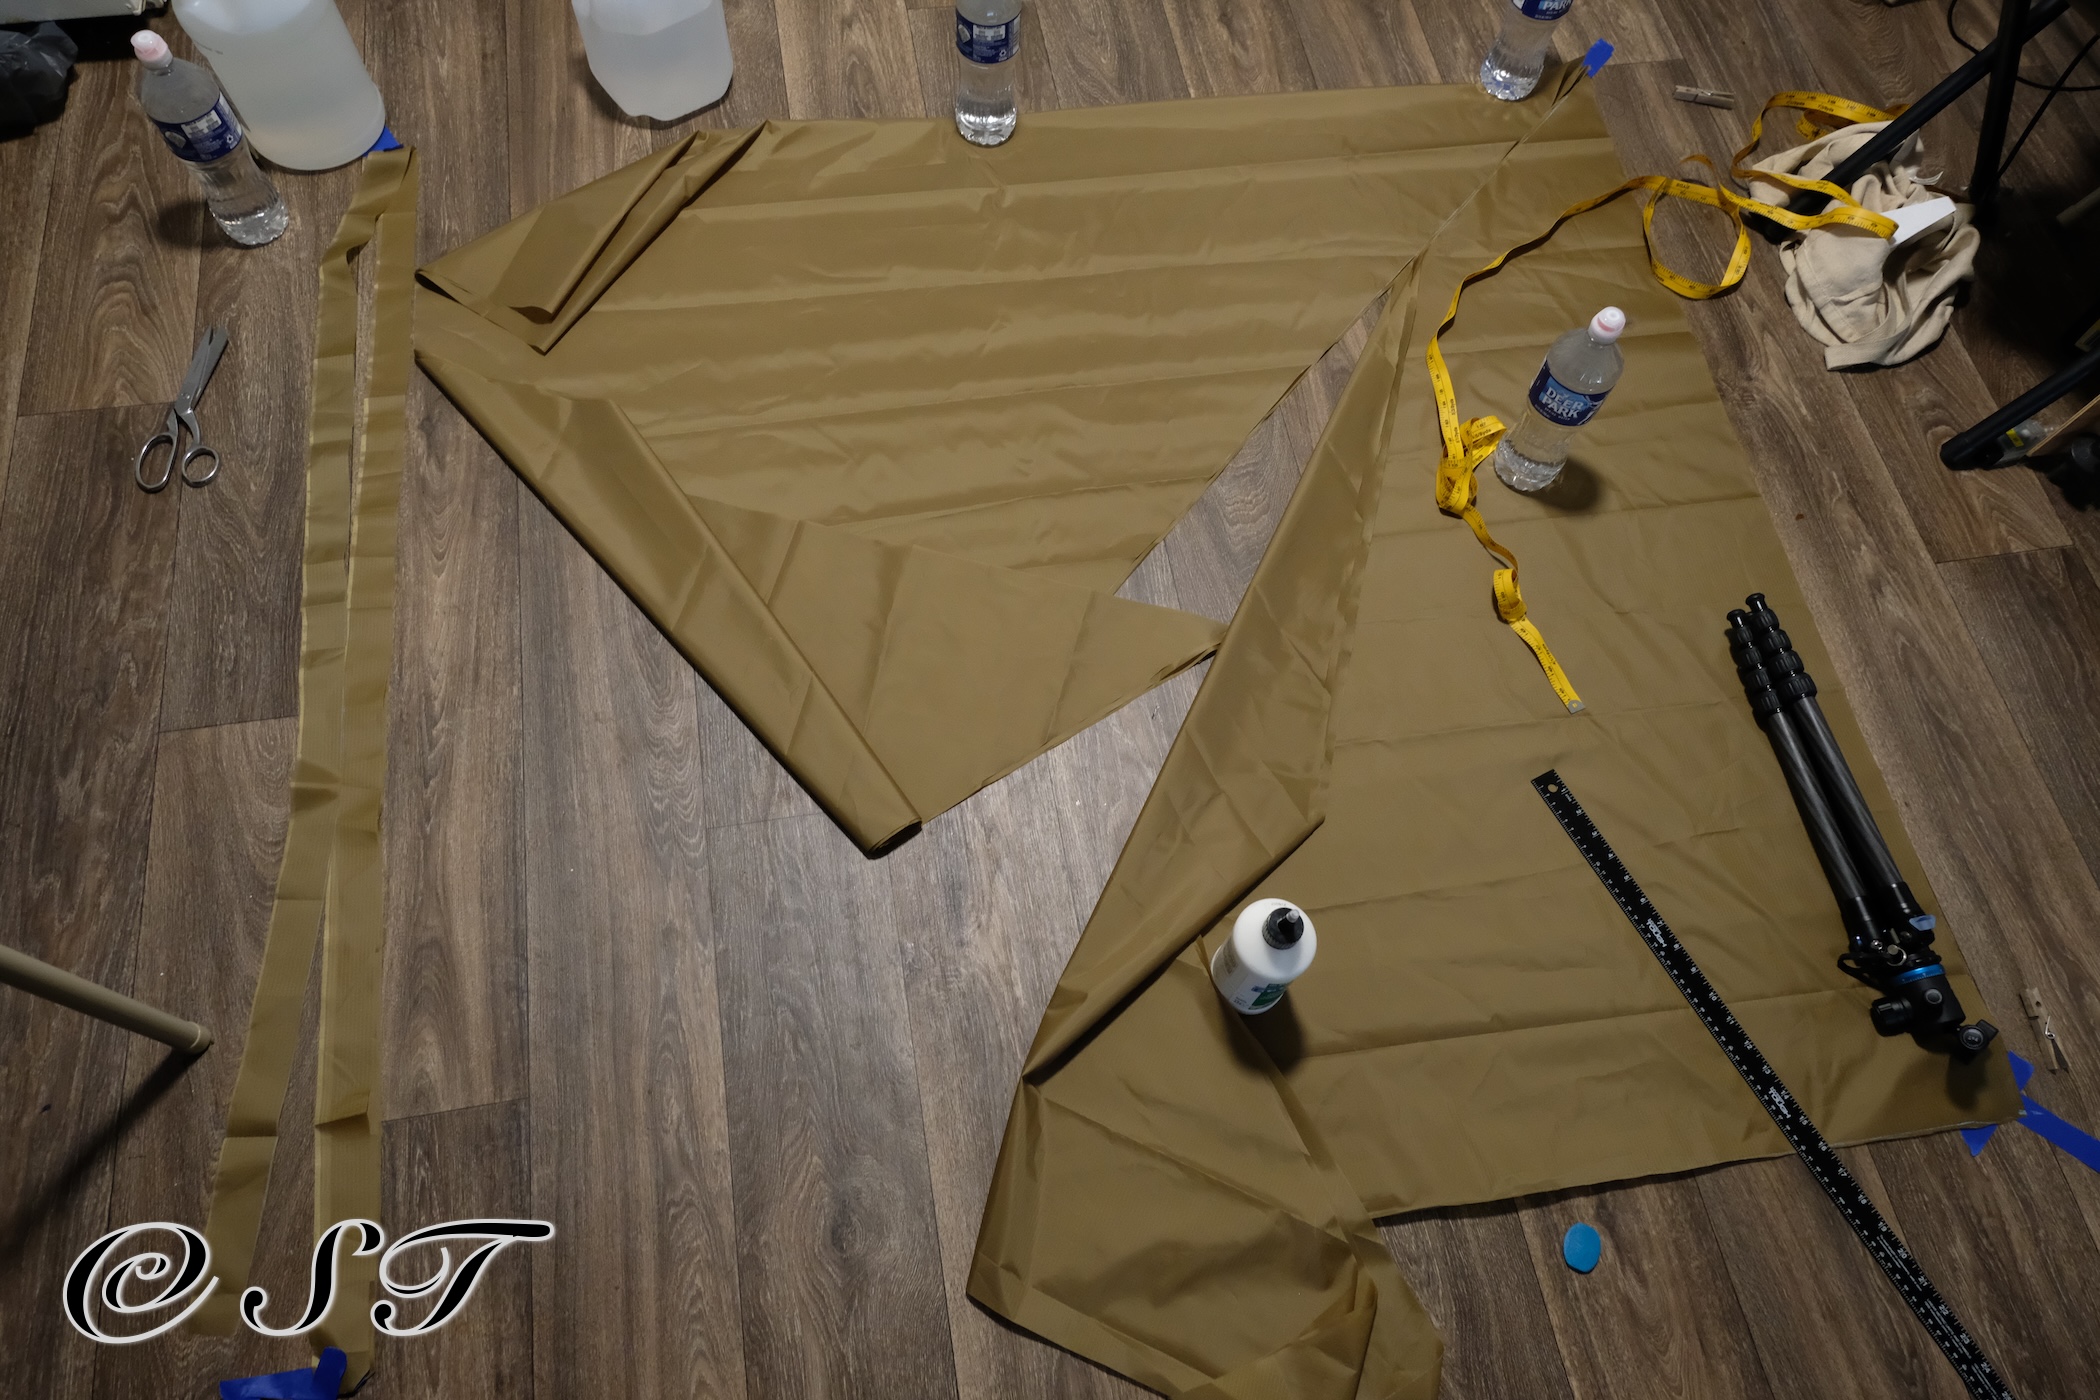
Part II- Cutting:
I did a different cutting Tham my first pyramid tent. This was less cutting and very fabric efficient. Basically I just removed the edge scraps! I used very other piece of fabric. There are some negligible left-over from strips I cut for the reinforcement. This will be shorter than my previous pyramid shelter.
Part II- Sewing:
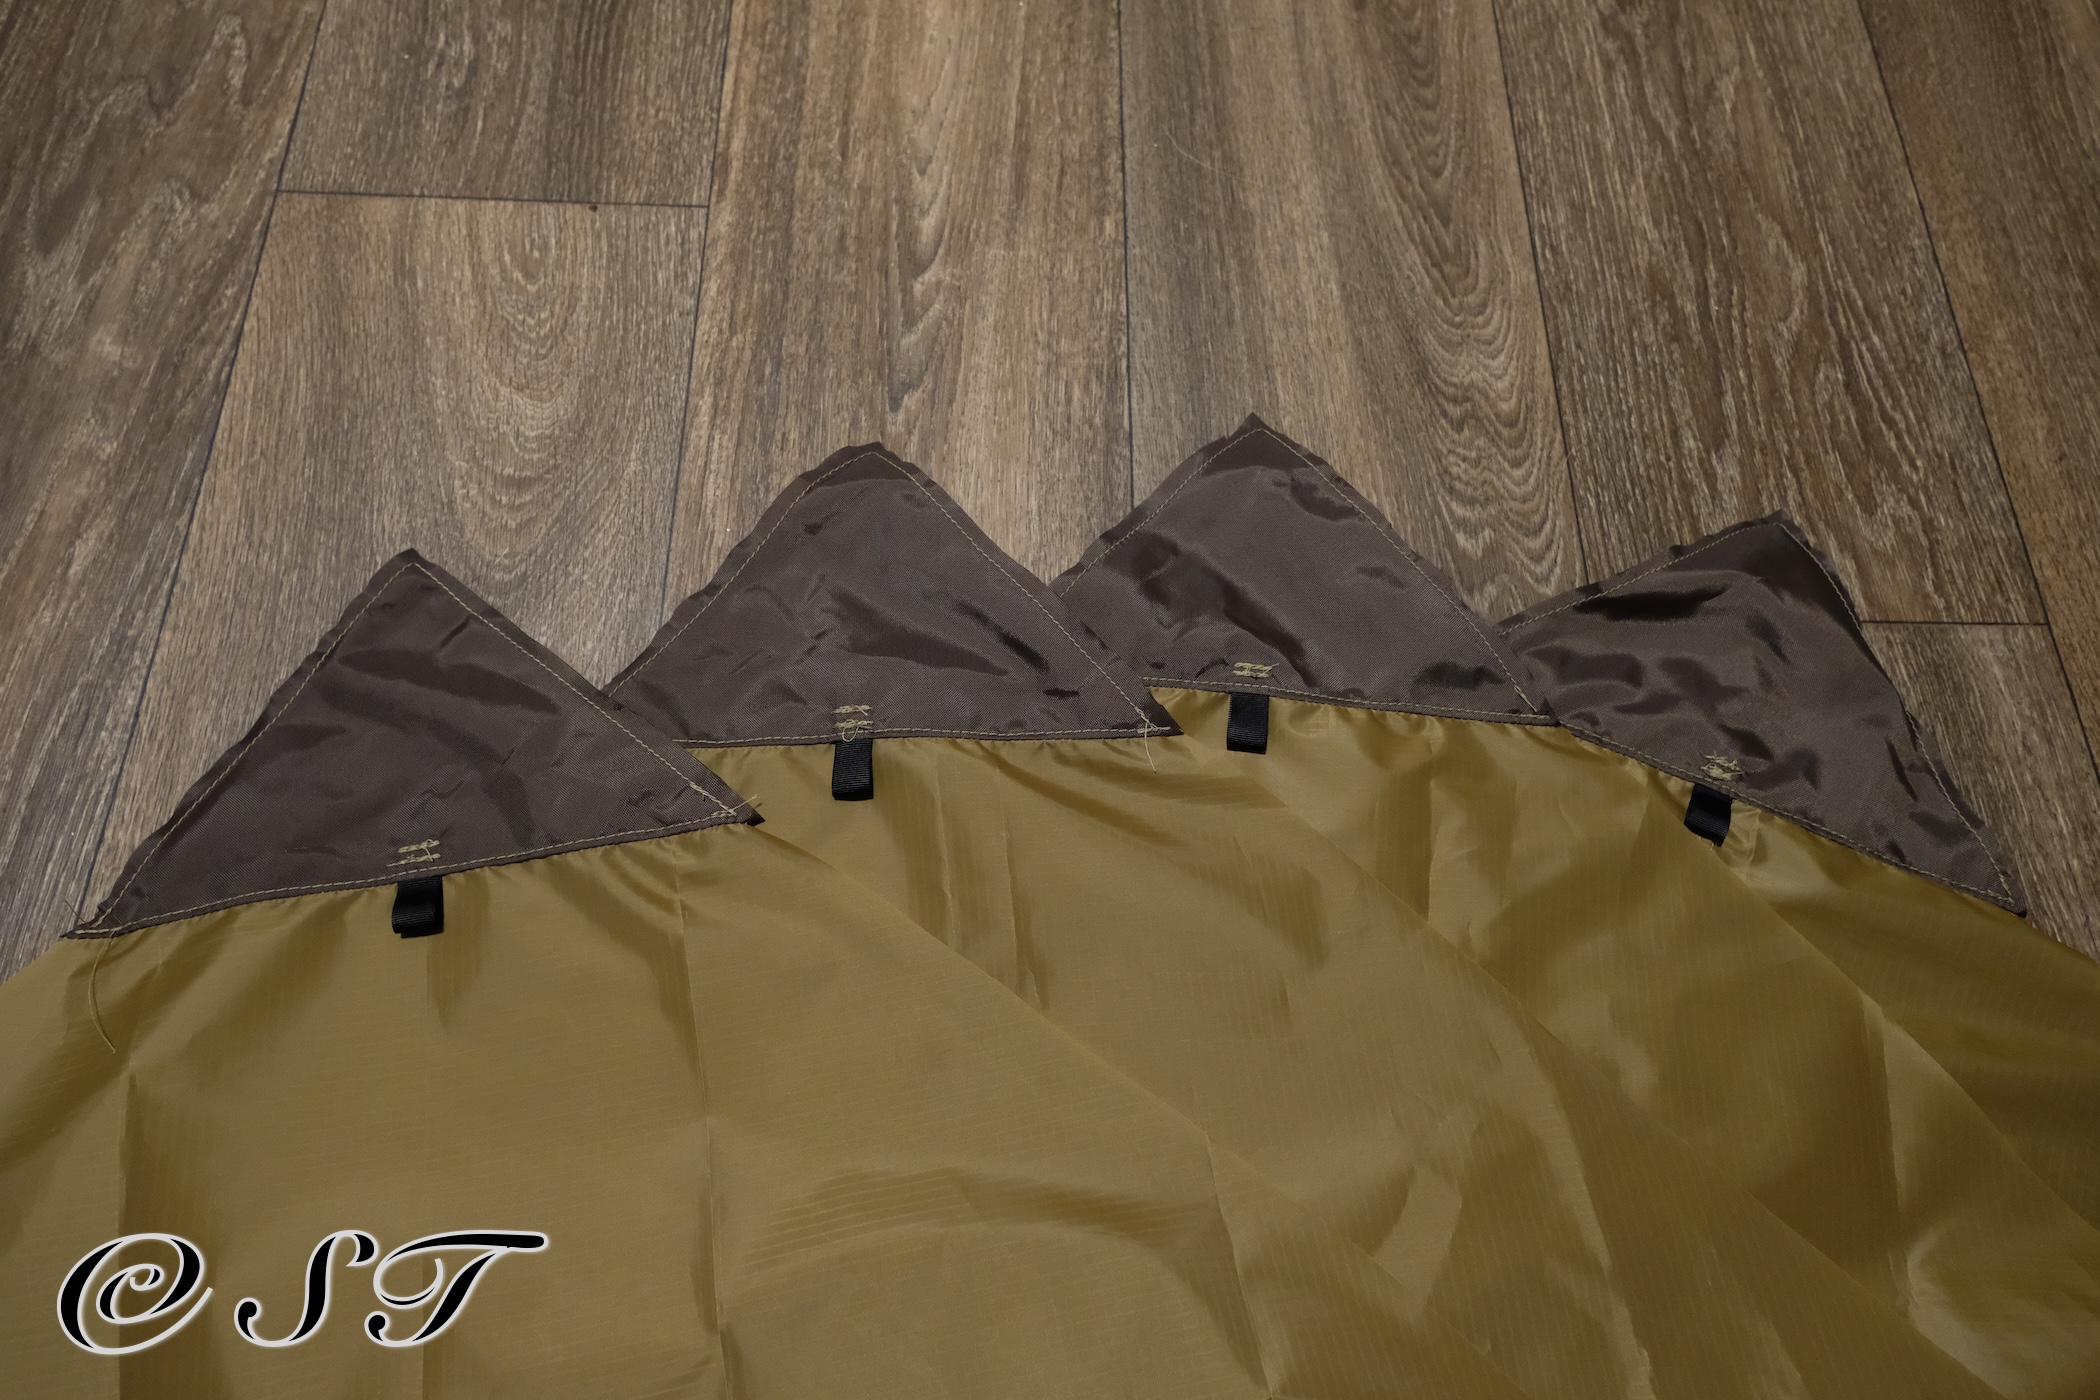
- Sew top triangle reinforcements. I added a webbing loop at the bottom.
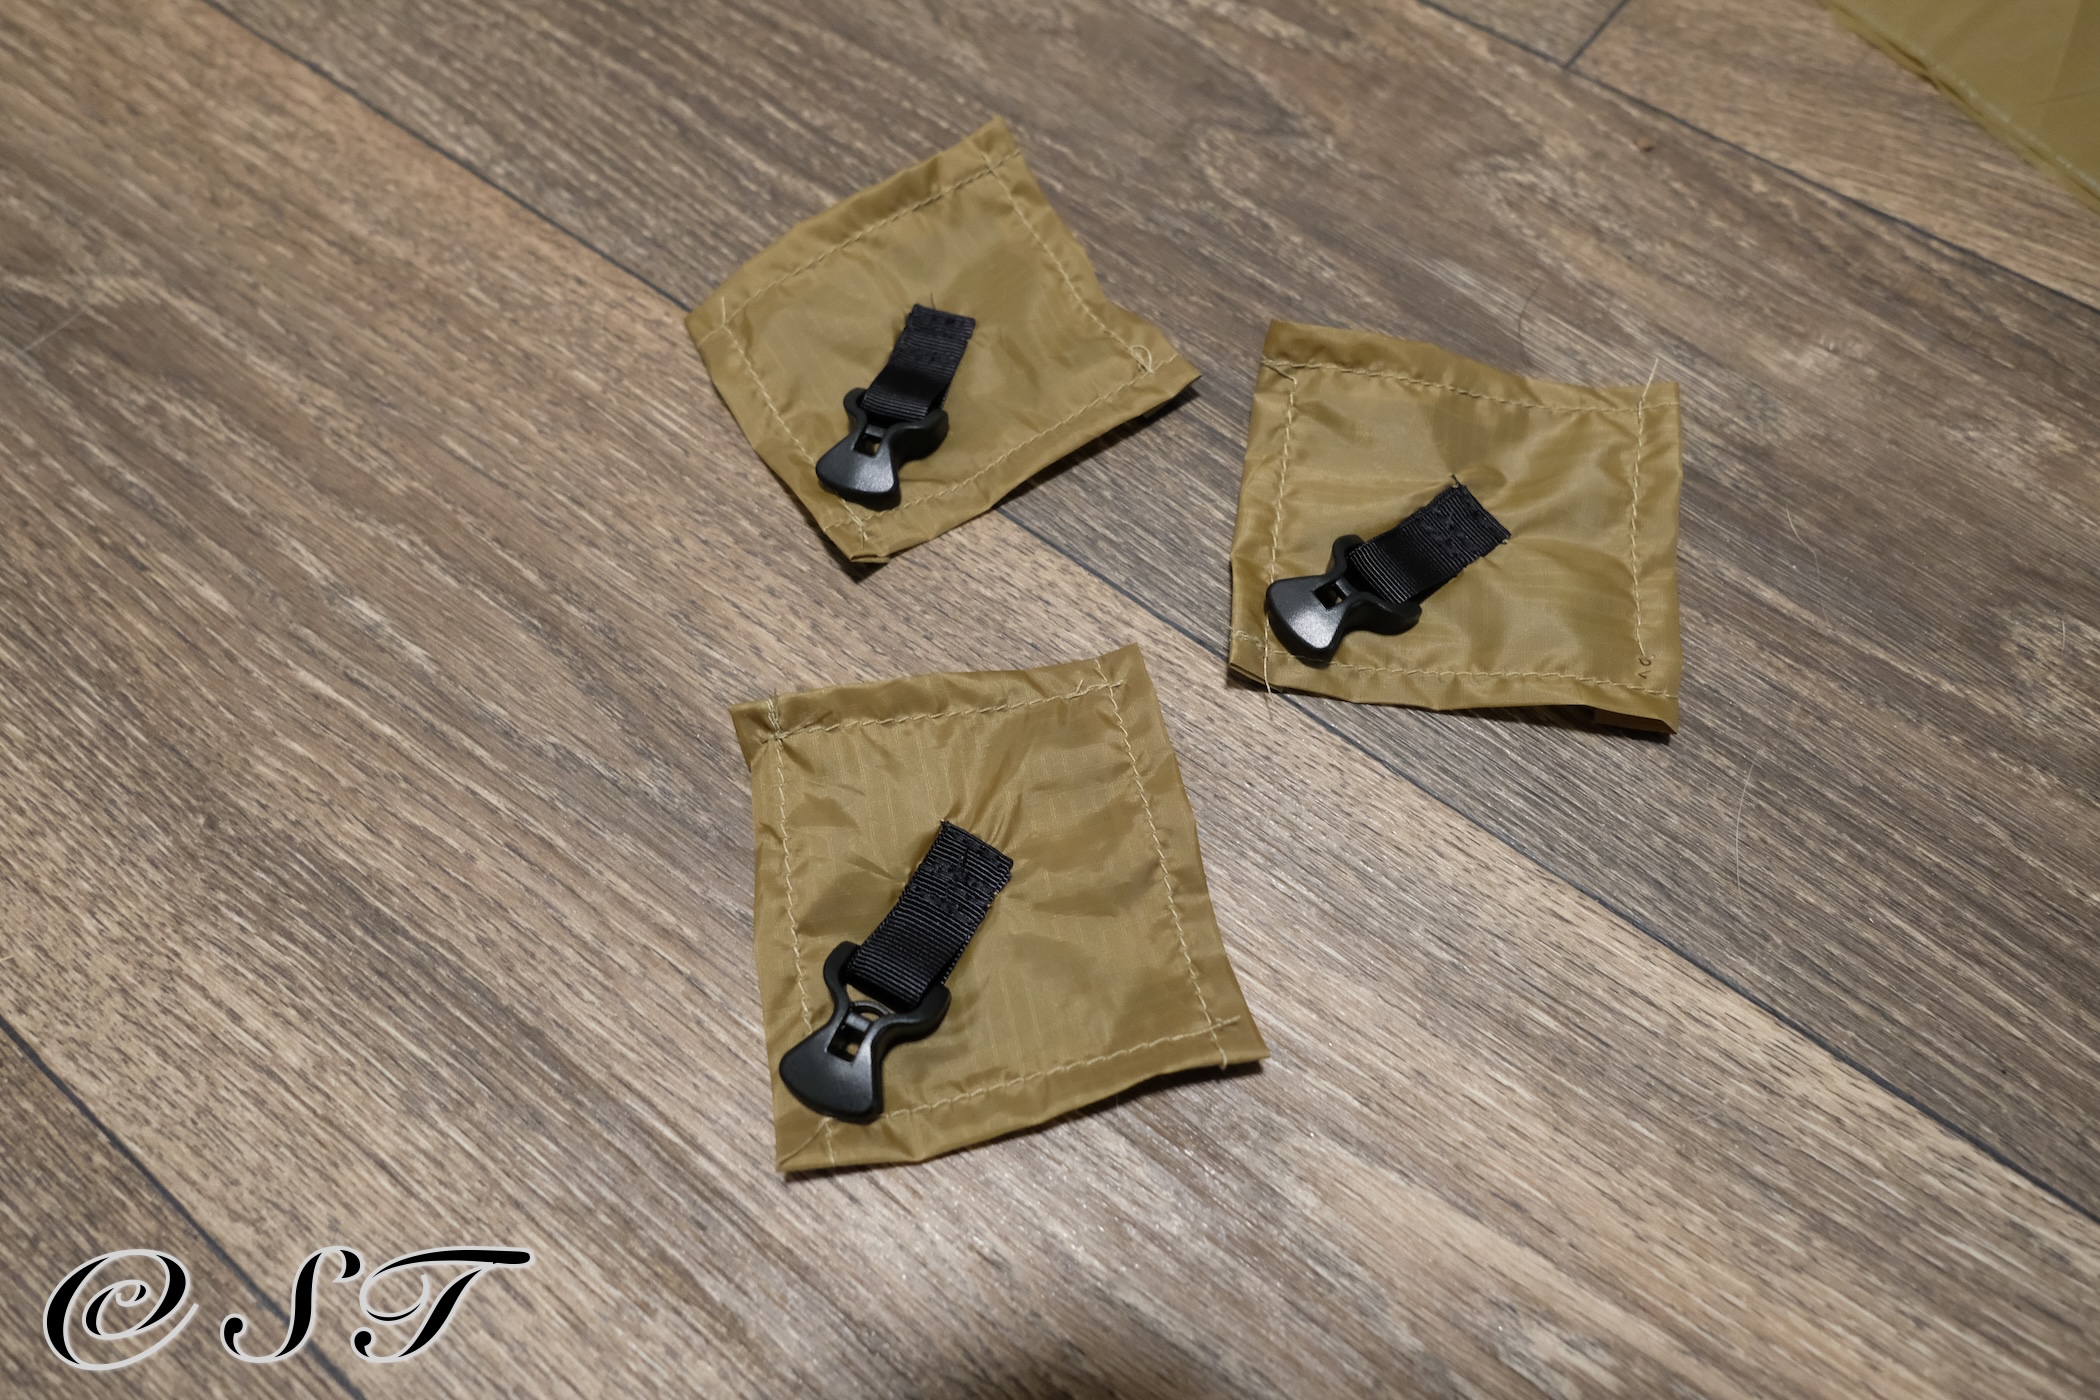
- Sew the side panel tie-outs.
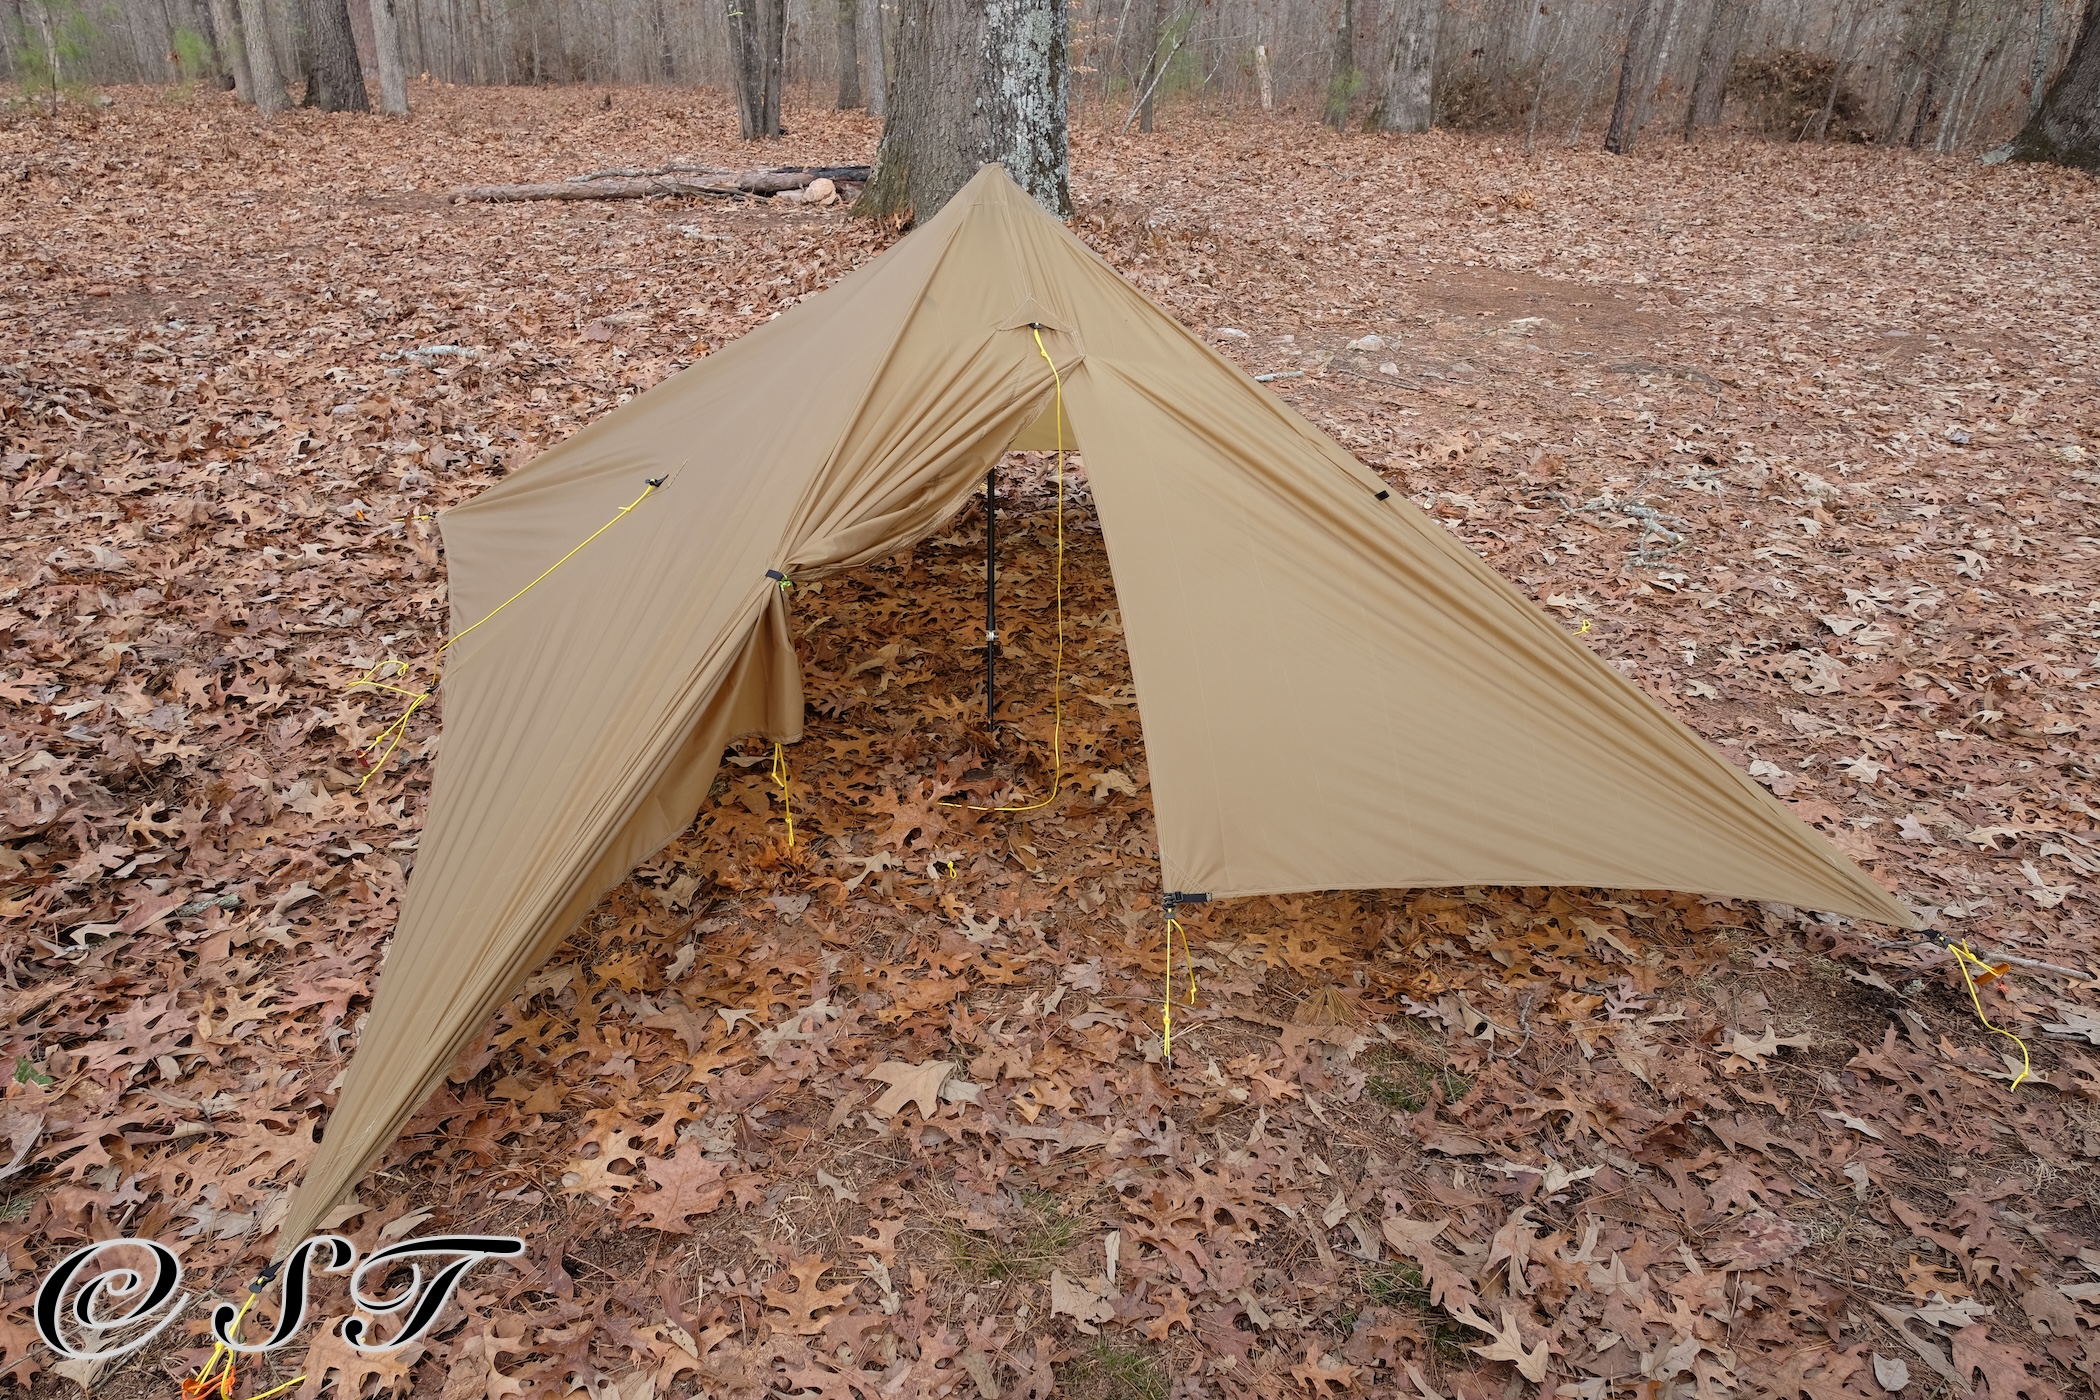
- Sew the door - zipless this time- and add the extra flap cover.
- Attach the door tie-out loop and LineLoc.
- Attach all four triangles. Don’t forget the webbing loops. They are not just outside, there a few inside - for hanger loops, door hanger, floor/bivy loops-.
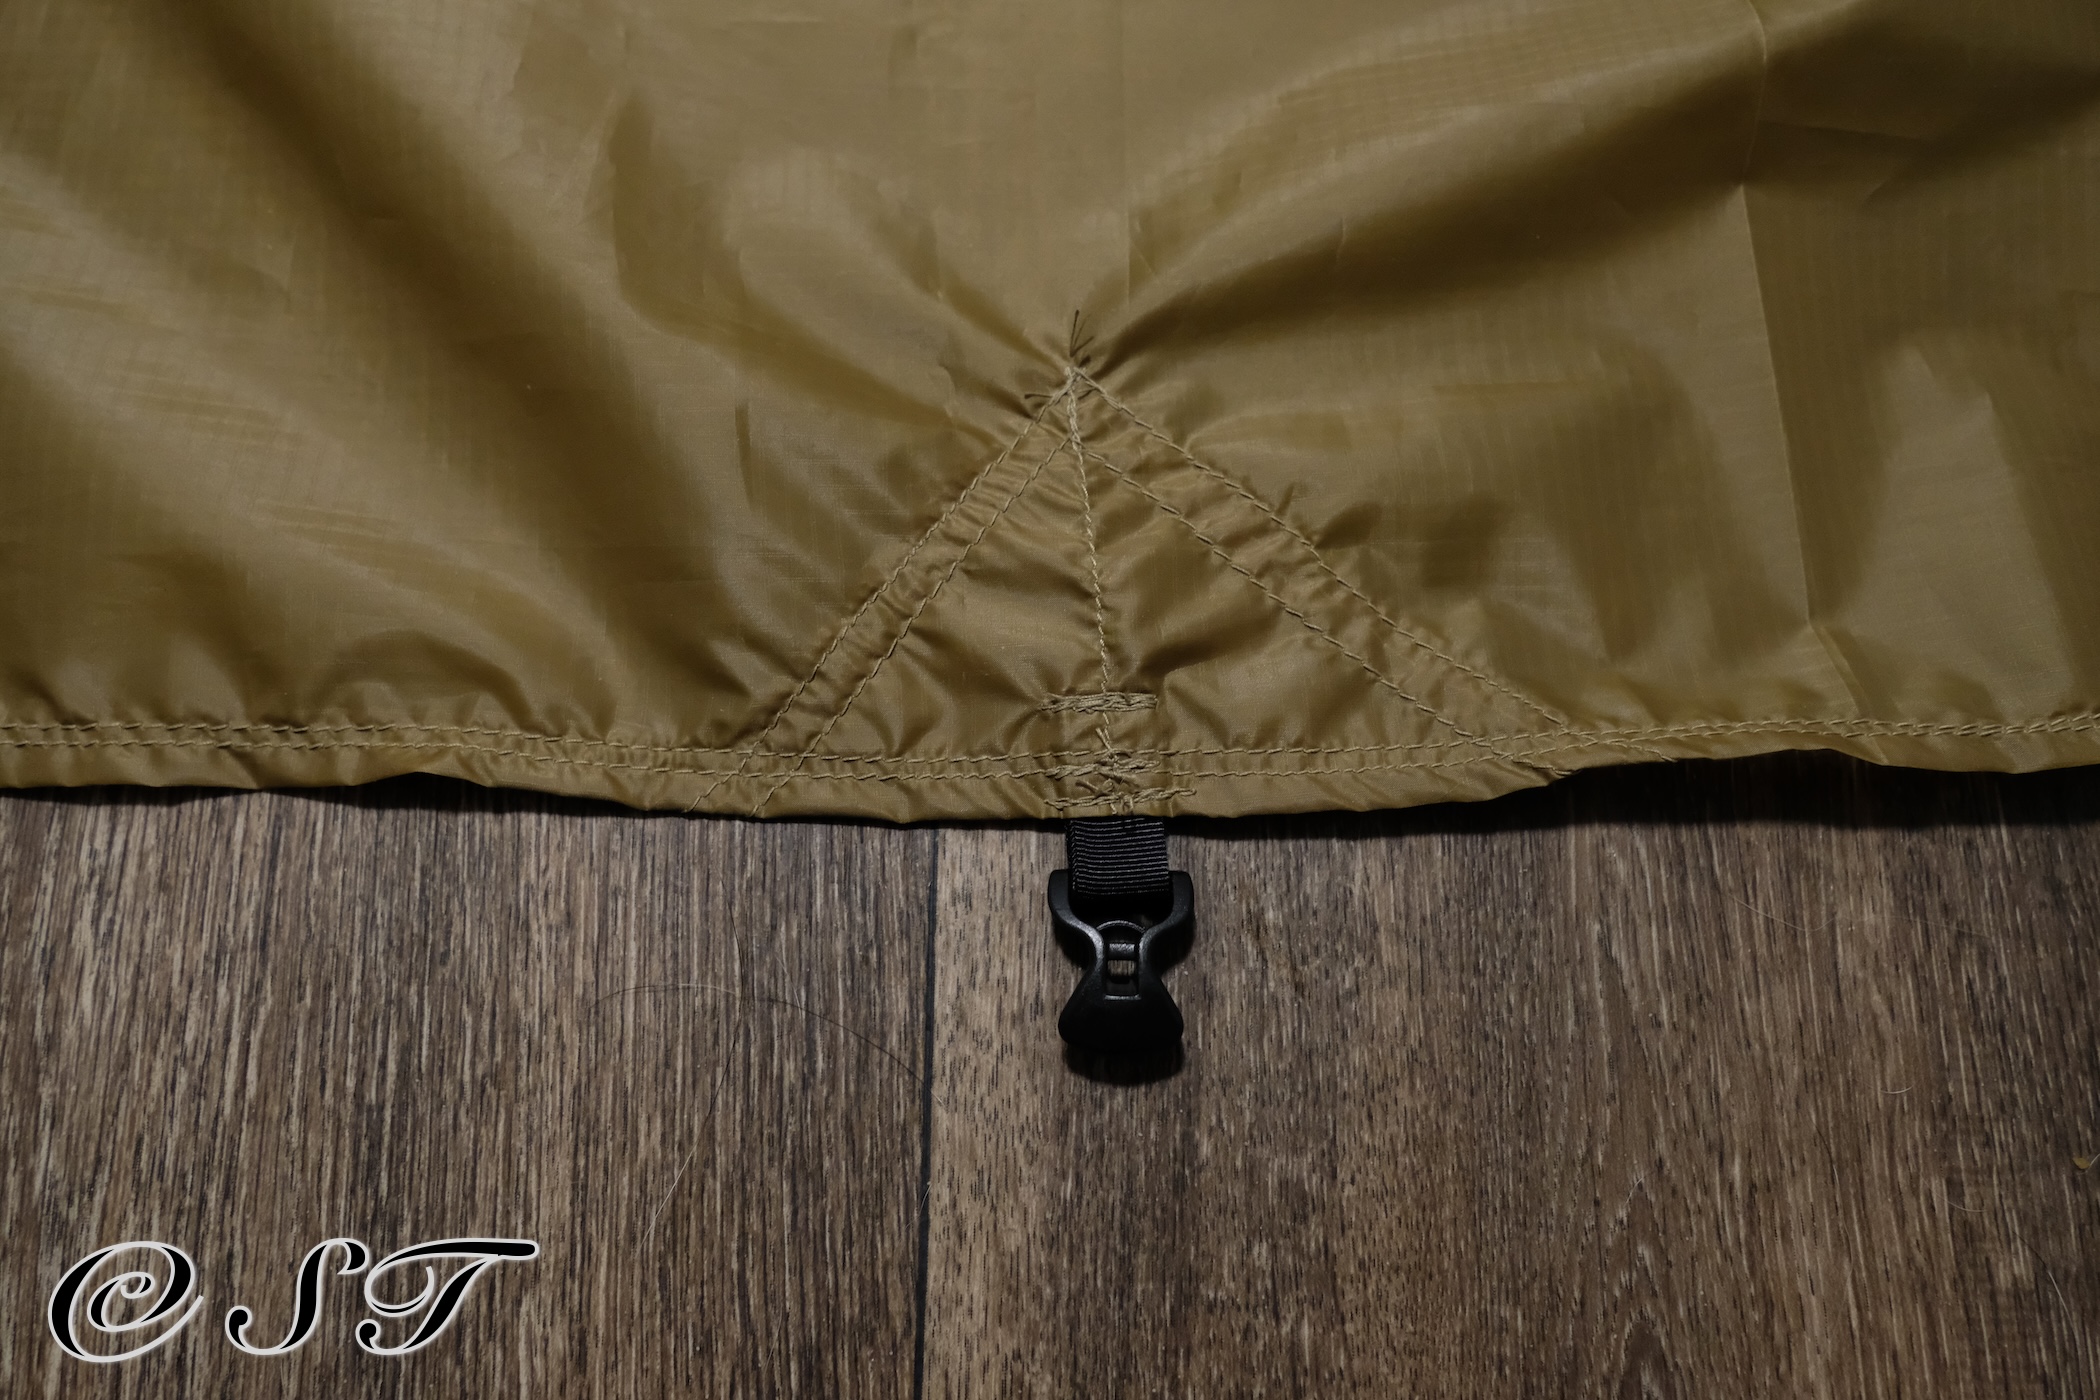
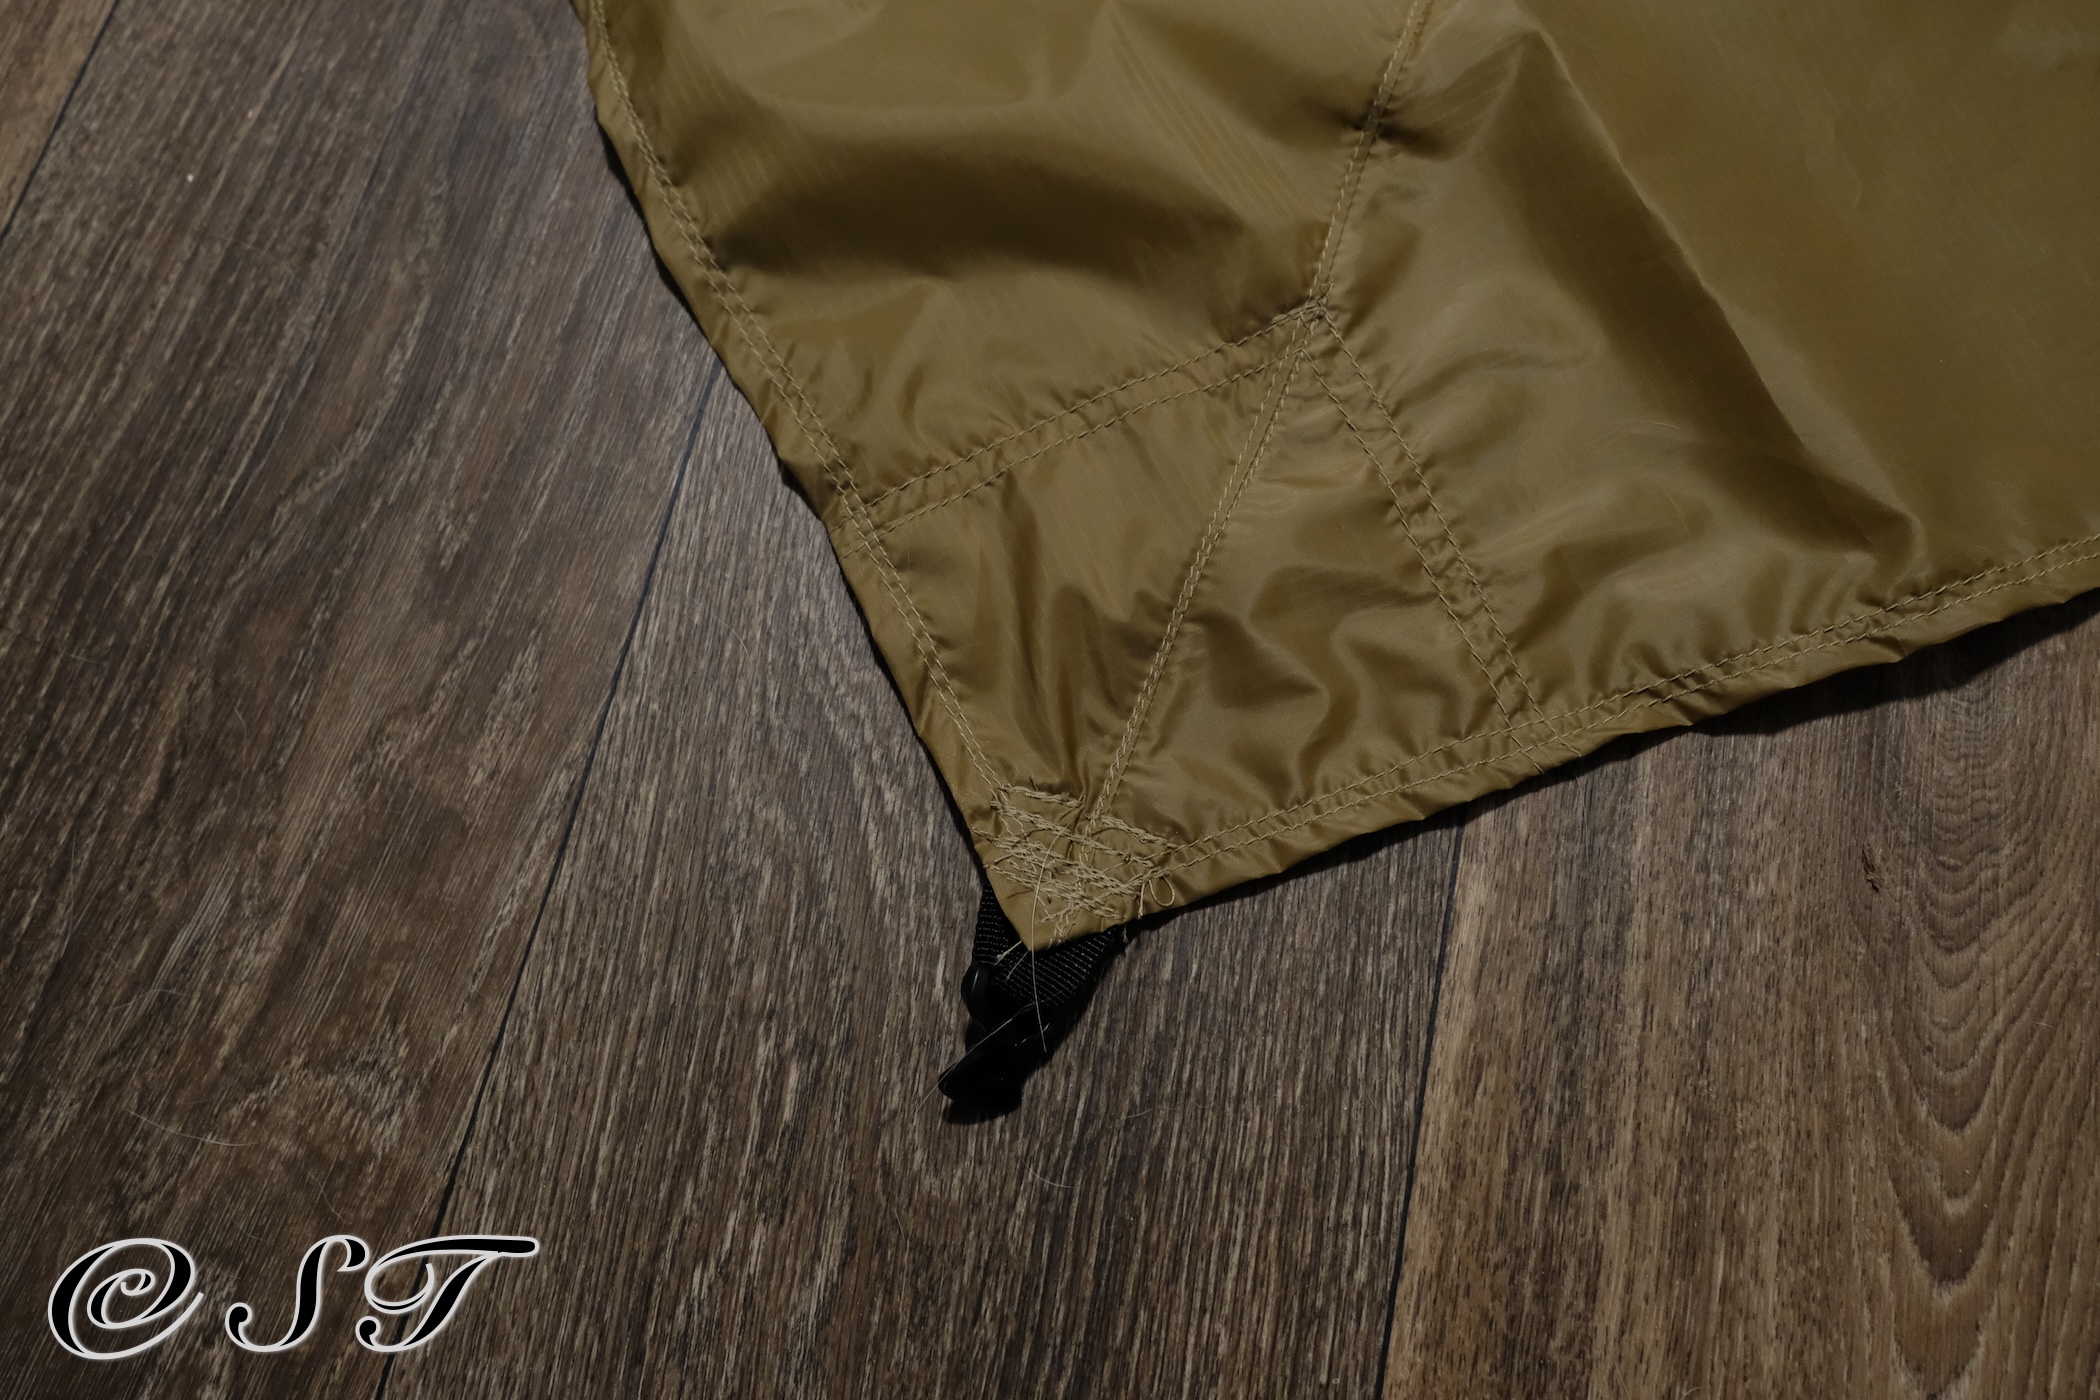
- Sew side reinforcements.
- Hem the edges.
- Attach loops.
- Add door attachments.
- Seam seal. Let it dry.
- Take it out for a ride!