Down Sleeping Quilt
Intro: Quilt and sleeping bags have different difficulty level. A few years ago, I opened my sleeping bag and replaced the 850 duck down with 950 goose down. I slightly overfilled it. The overfill, combined by the improved fill power, improved the temperature limit from 19 degrees to somewhere in single digits. I have comfortable slept in it in temperatures around 10 degrees. Not just comfortable, cozy comfortable! But it is relatively heavy and bulky. My second project was a synthetic quilt with single layer Primaloft. It wasn’t enough by itself. It worked well for home. Then, I did another project with two layers of Primaloft, and more advanced features. It worked greet down around 40 degrees. Now missing component is a down quilt around 20 degrees that will cover these mid-rages and it is not heavy or bulky.
Note: I later learned that for colder temperatures Primaloft is not as good as Climashiled. Climashiled comes in different thickness/weight and you can either stack multiple layers or use a thicker build. I am missing around 30 degrees now and I may opt for a synthetic quilt for around 30 degrees for my next project.
Part I- Components:
- 0.9 oz (15 D) Ripstop nylon membrane- 3 yrds
- 0.66 oz (10D) Taffeta nylon - 3yrds
- 3.5” baffle mesh. This saves me from cutting the baffle, which is a big hassle
- 950 fill goose down - 16 oz. I got it at 30% discount on Hammockgear.com. I think it is untreated, so chemical free, so it expands more (a little warmer than treated down) but not much moisture resistant.
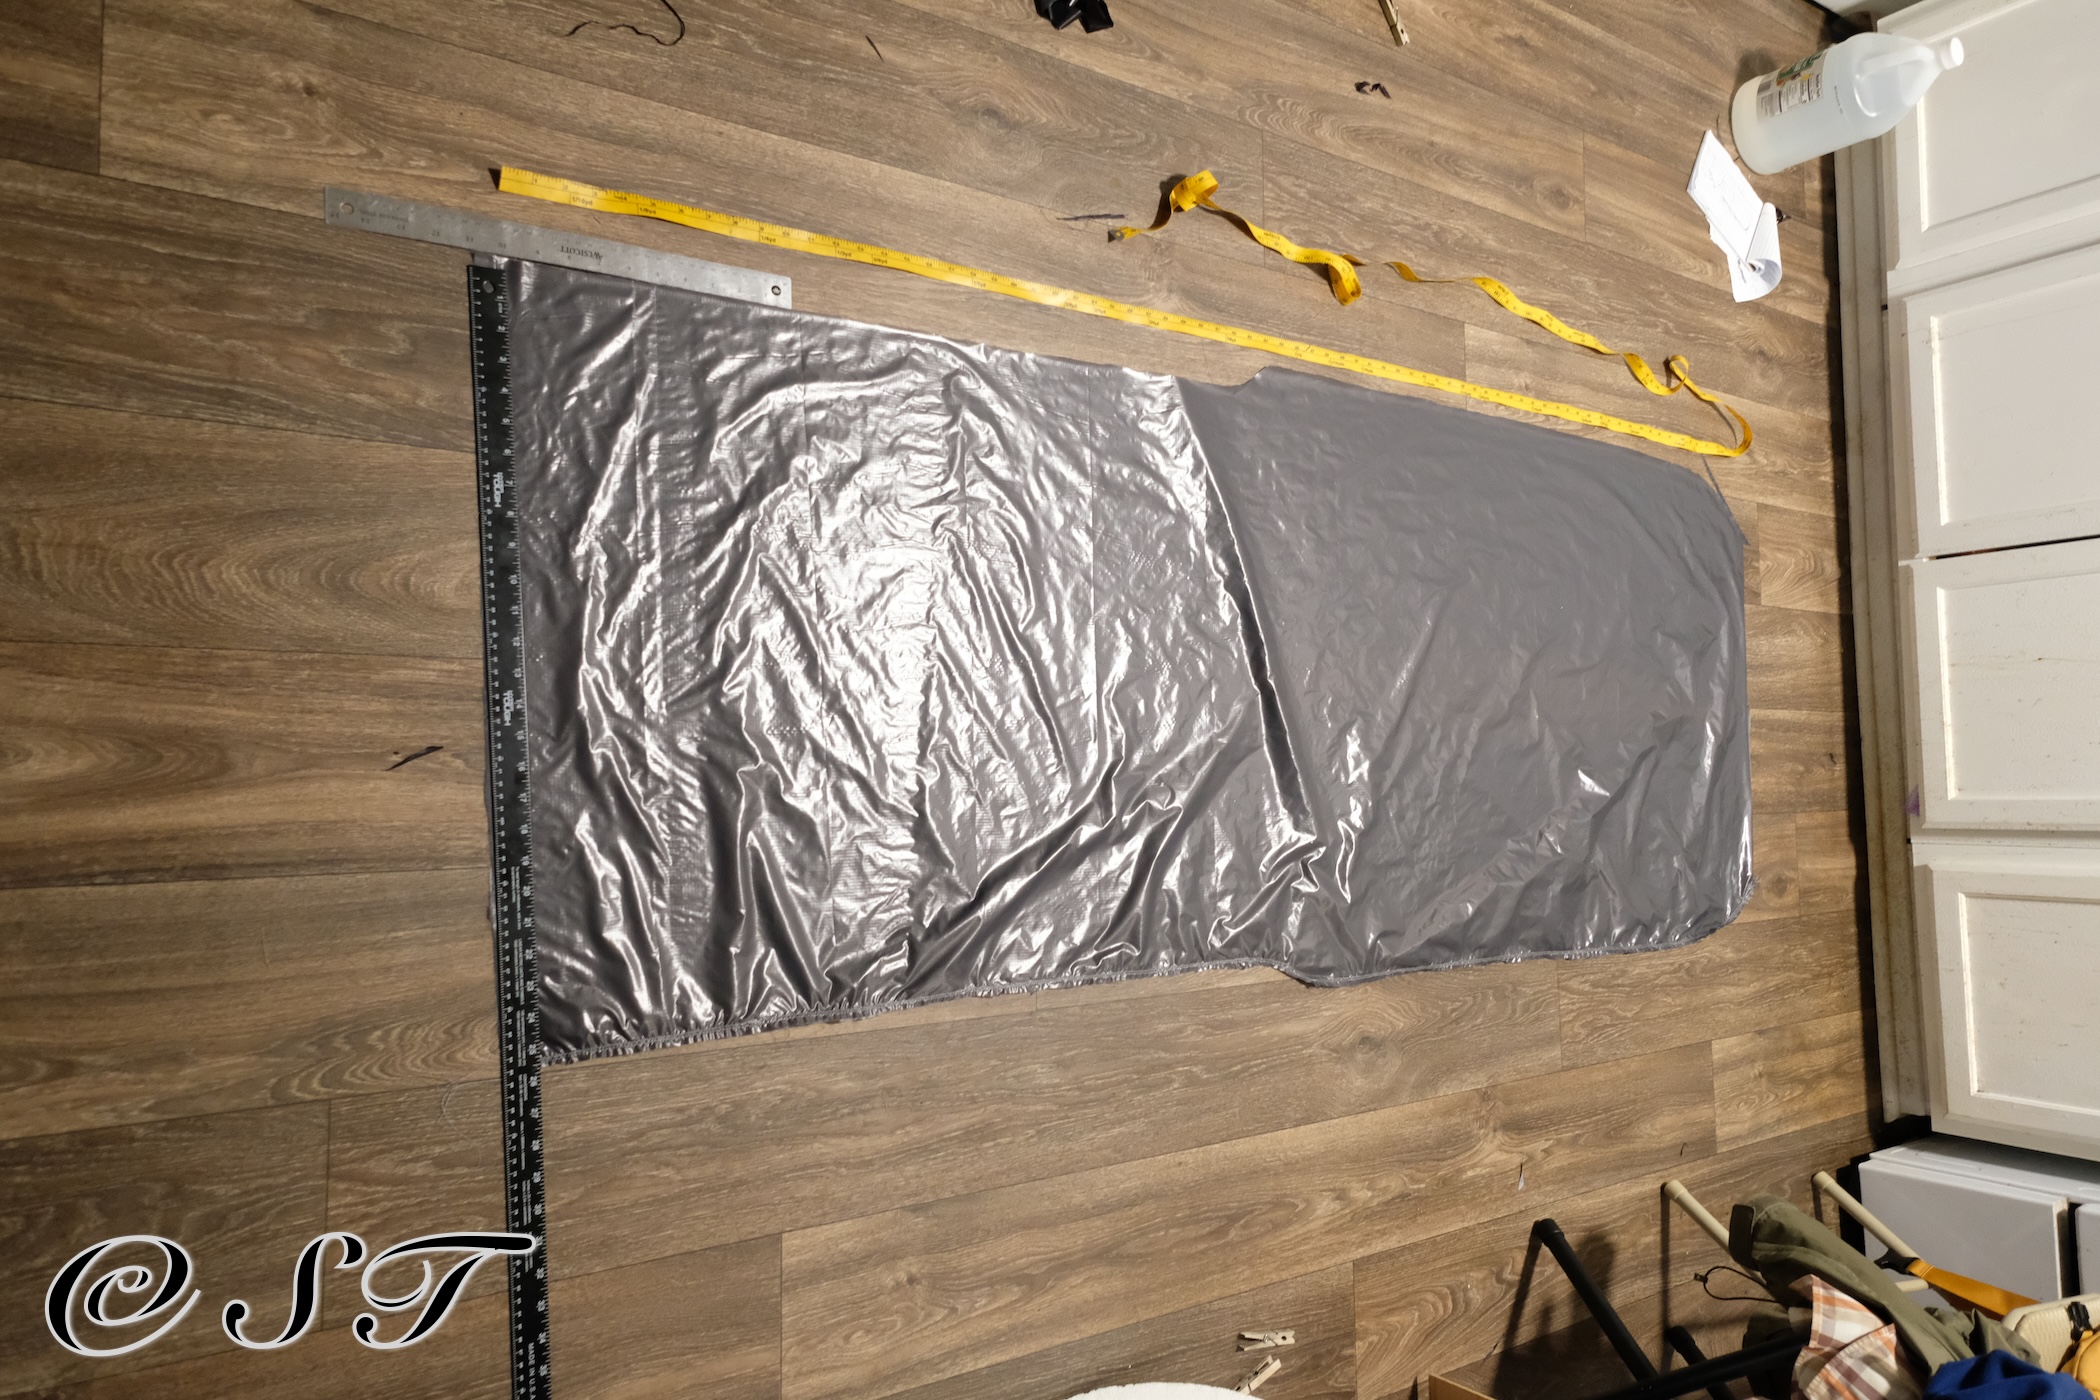
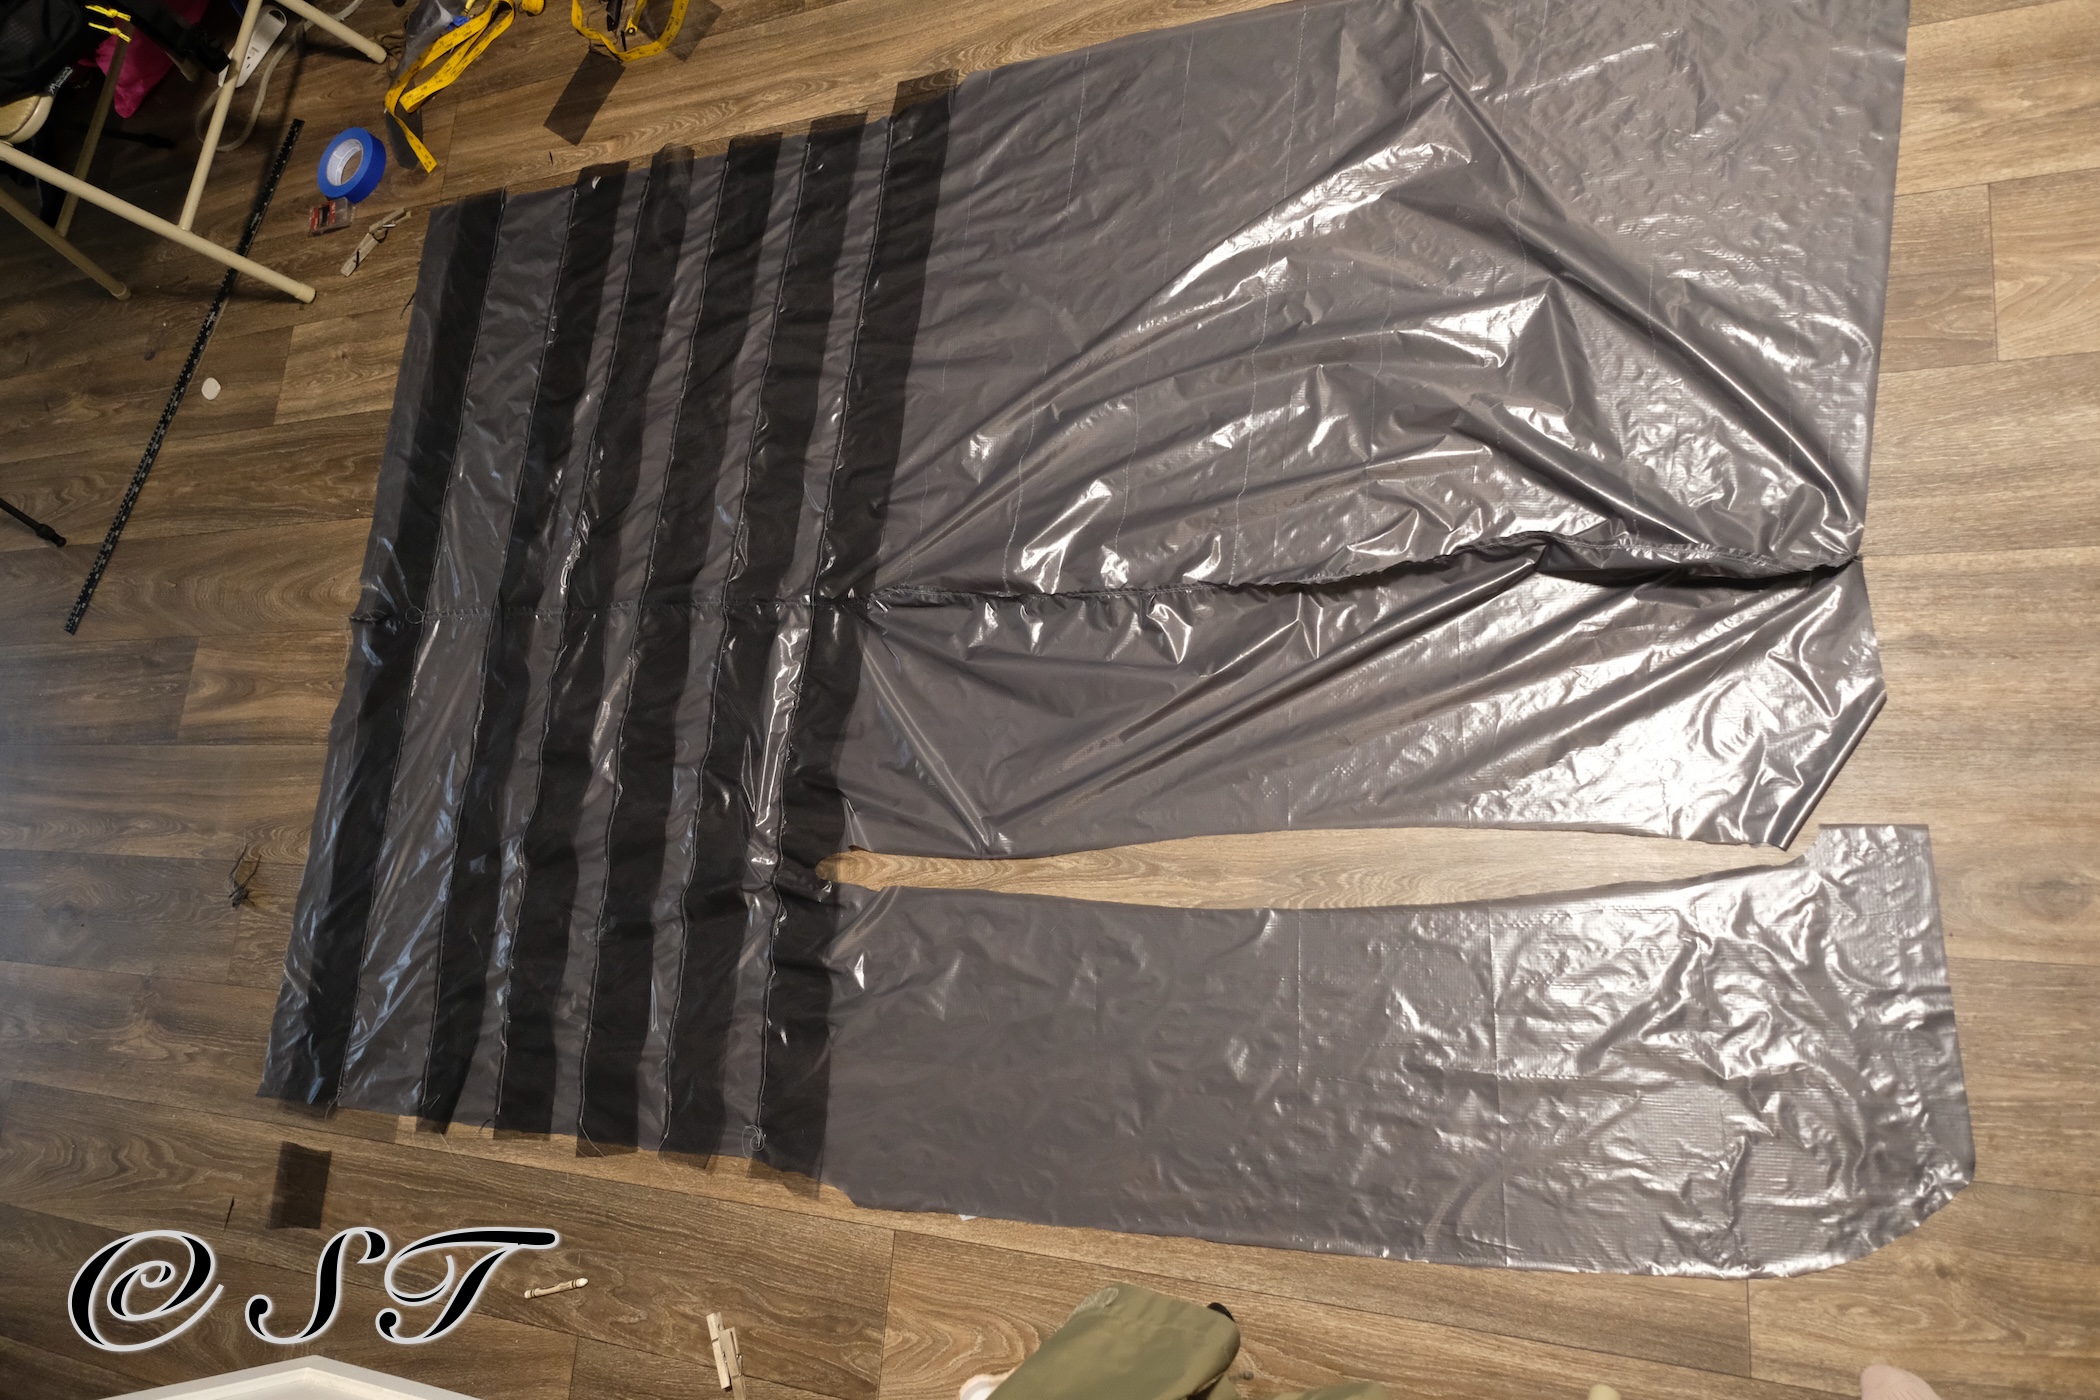
Part II- Cutting:
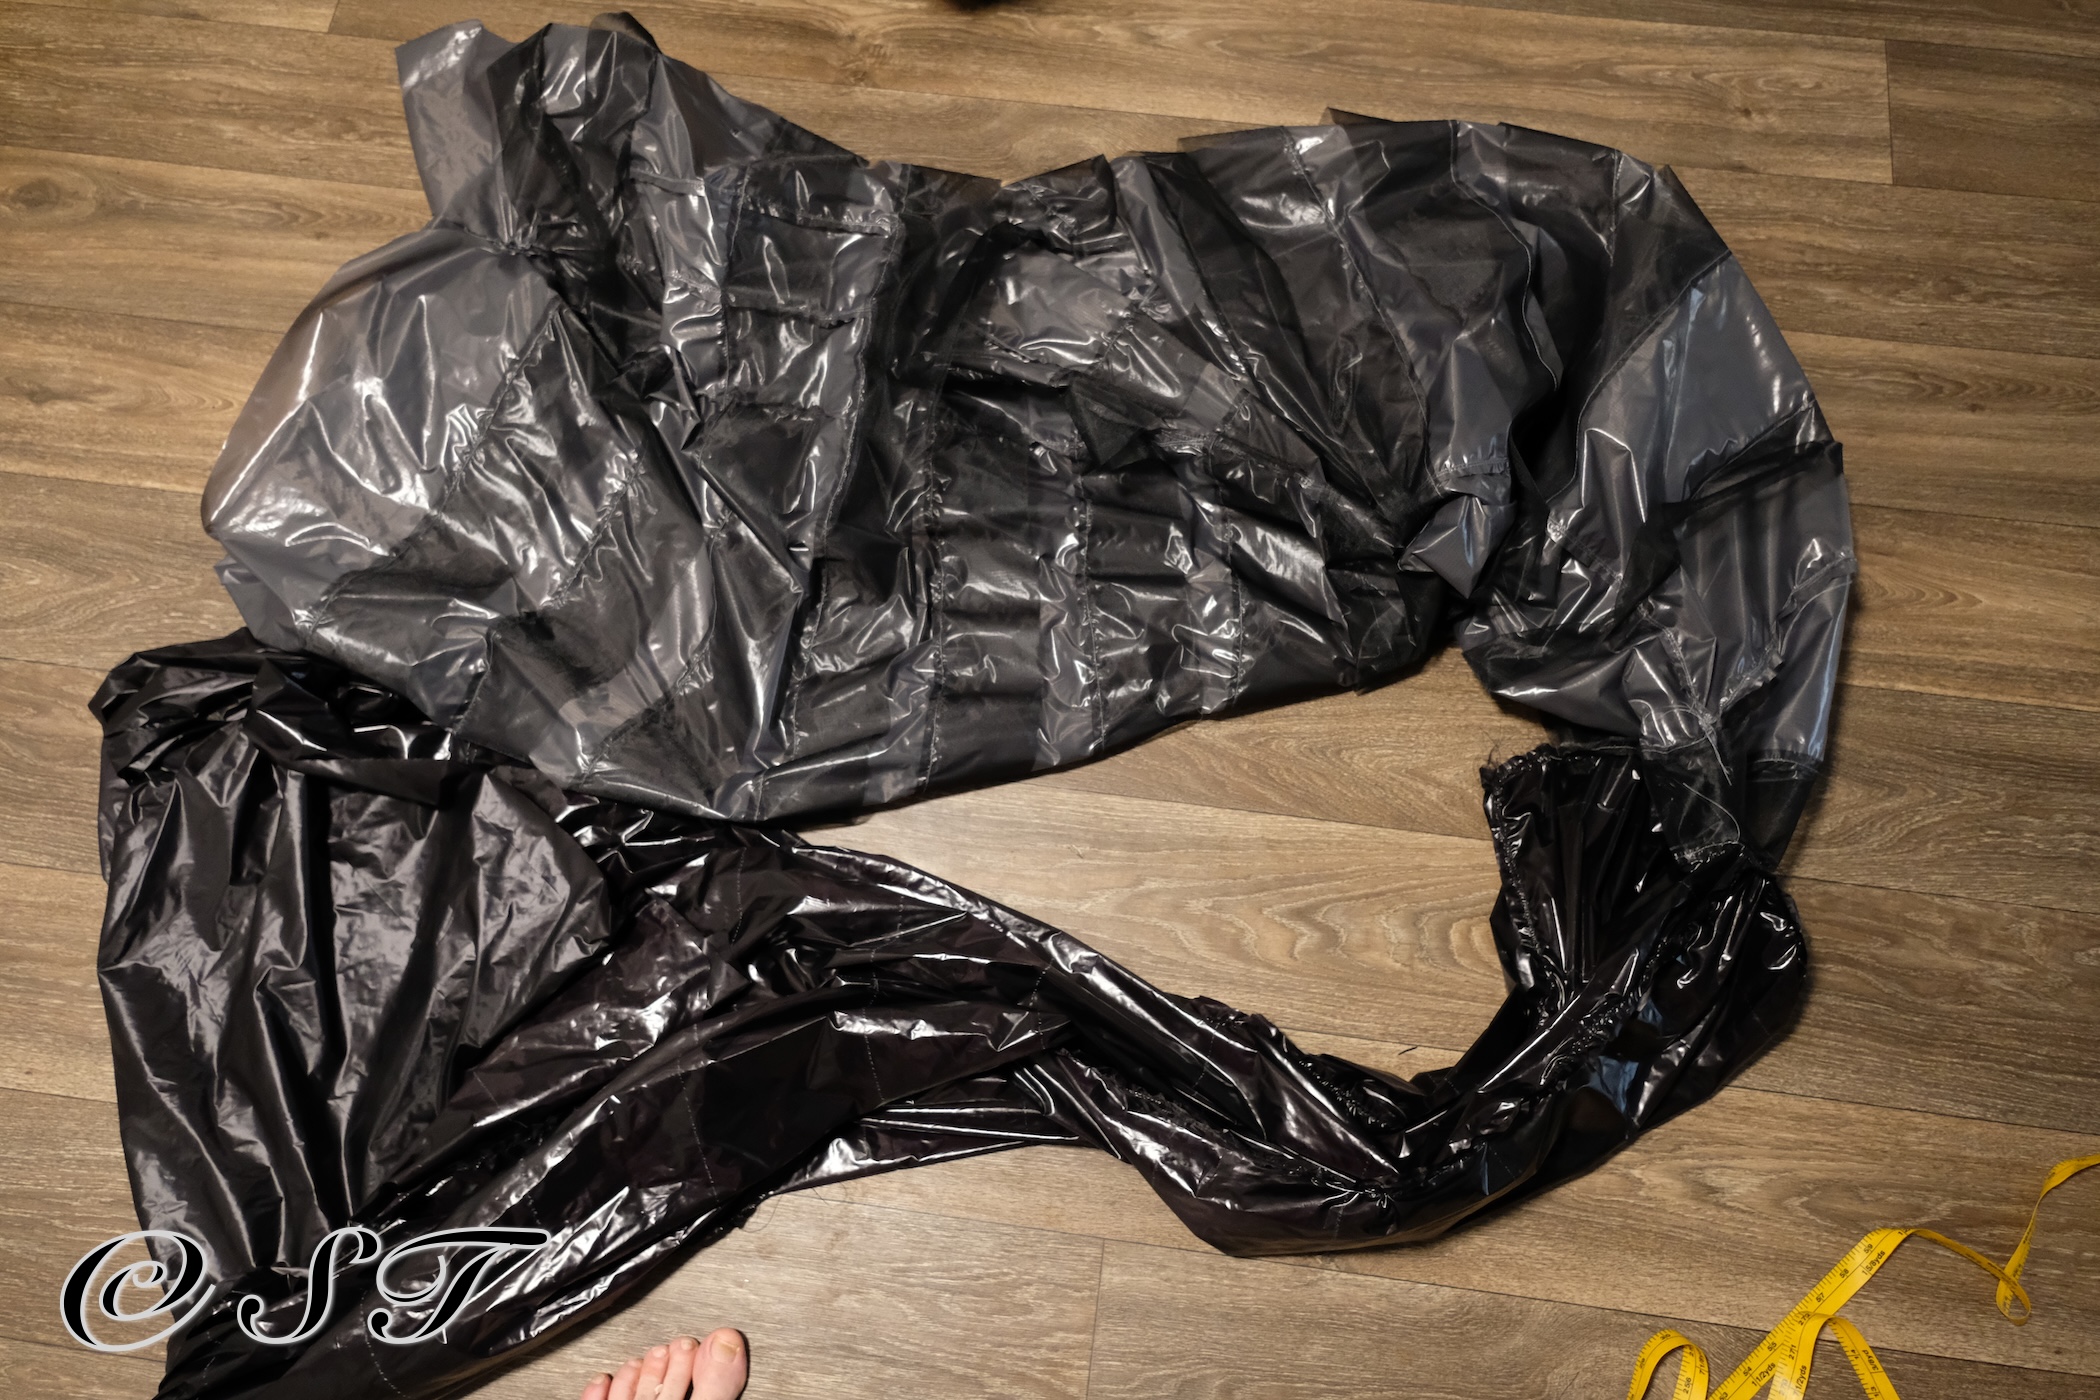
It is basically a mummy like pattern. I simply followed my body pattern. I cut both shell and liner at the same time, so they have the same size, but with the differential cut, the liner will end up smaller than the shell. I was planning to cut the liner extras at the end, but after I finished the shell, I realized it is a little small for my shoulder size. I added extensions around the hip and the shoulder section. It was about 7 inches on each side. This almost matched the liner, so I didn’t need to cut too much of the liner.
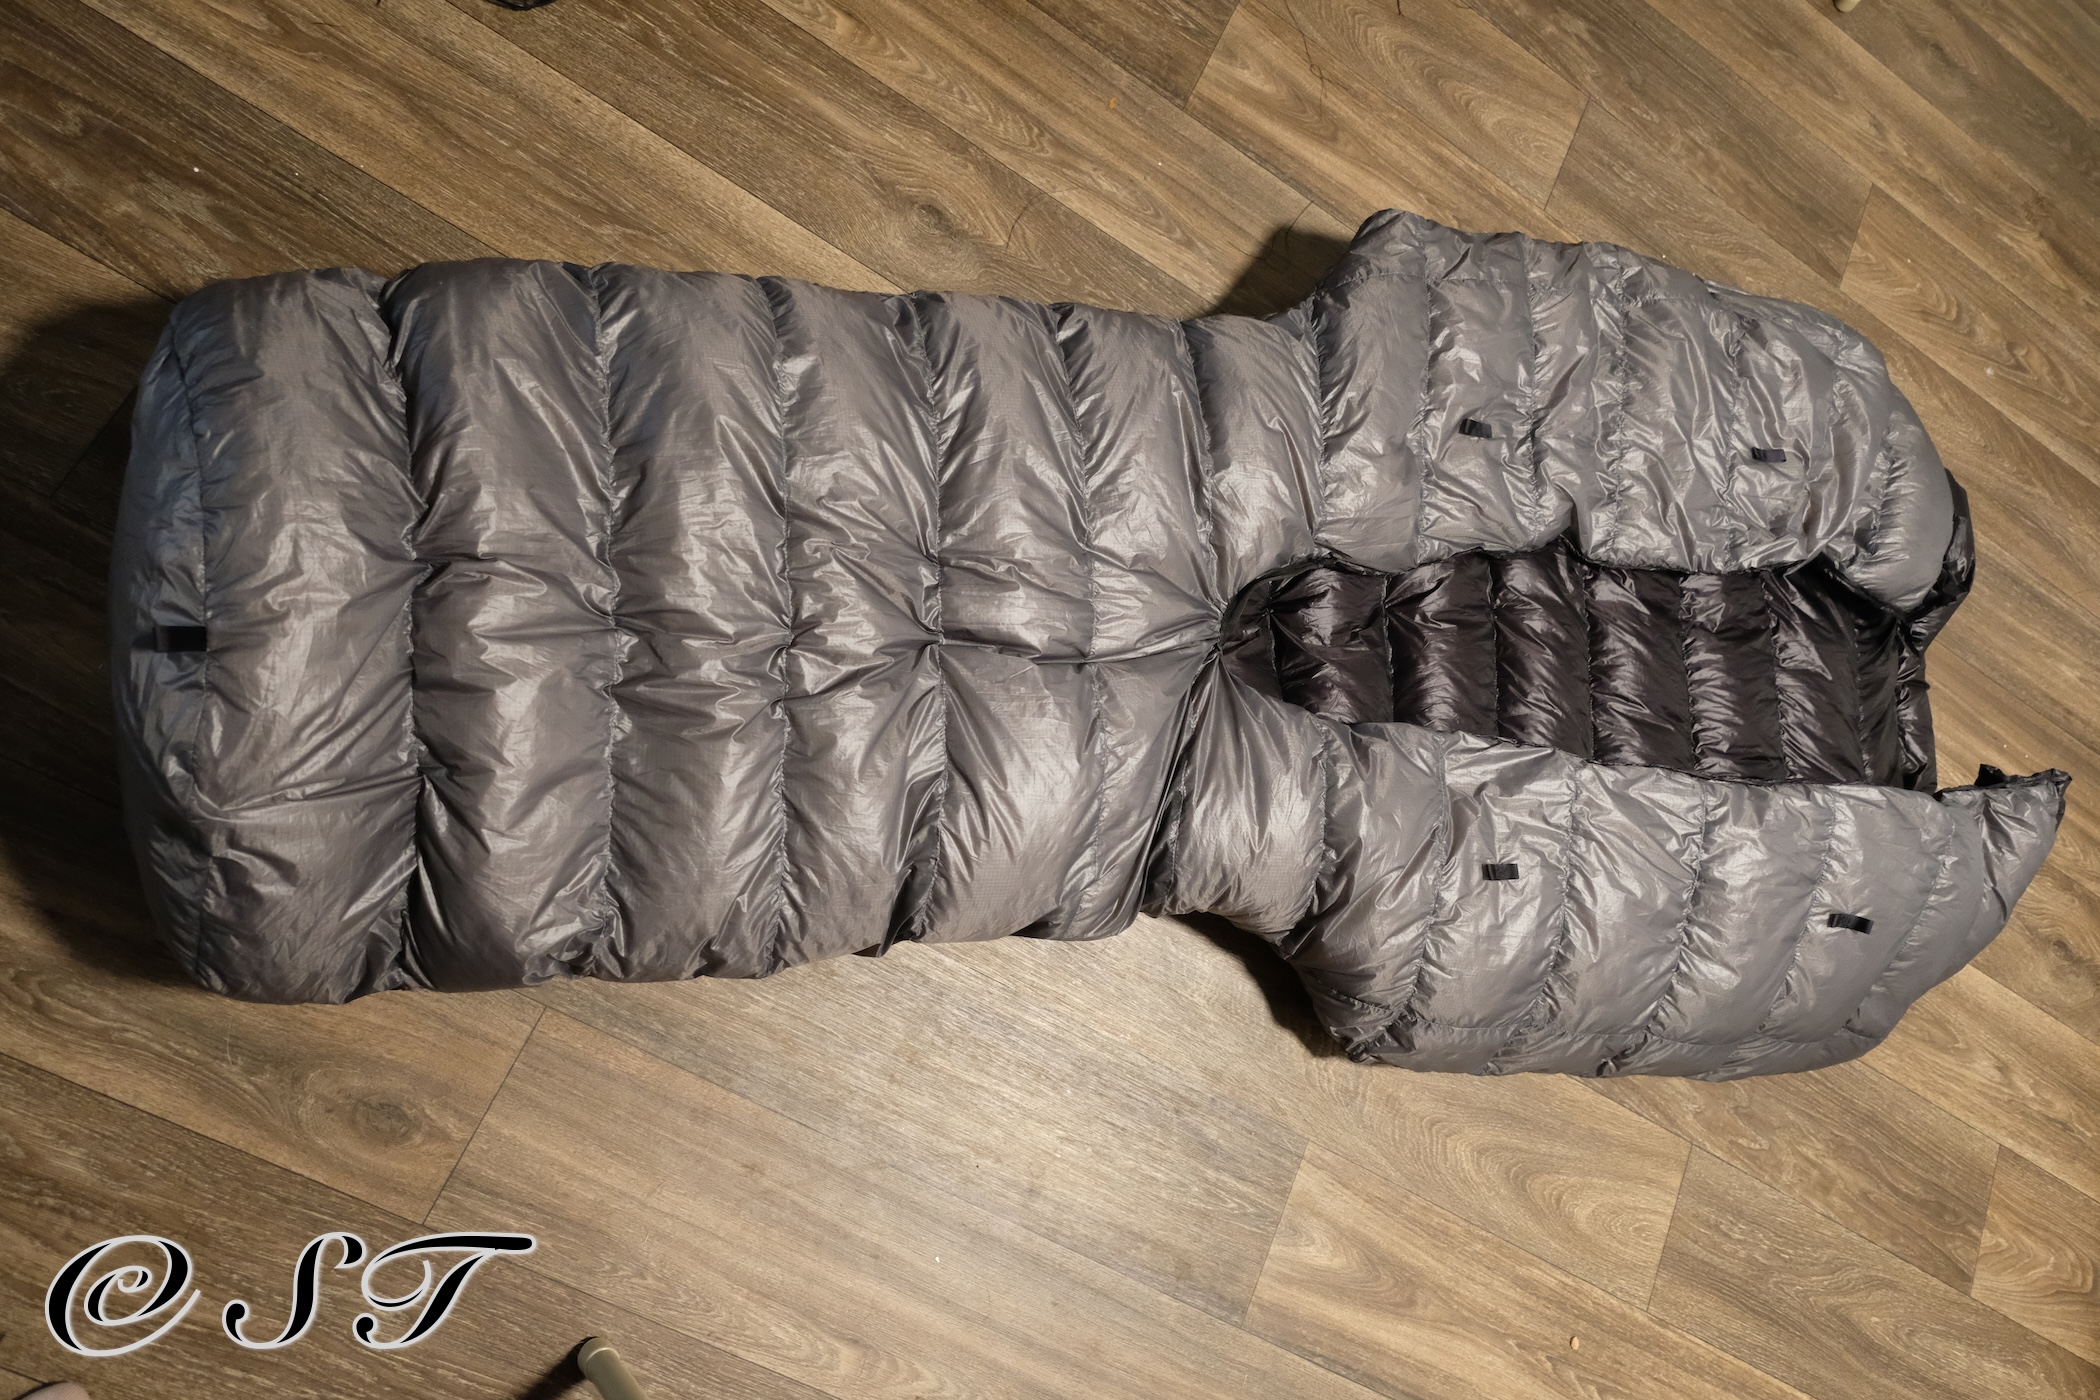
Part II- Sewing: I just marked the baffle lines and sewed them on the shell first. The footboy requires a lot of small details, because I didn’t want ugly cuts. It turned out nicely.
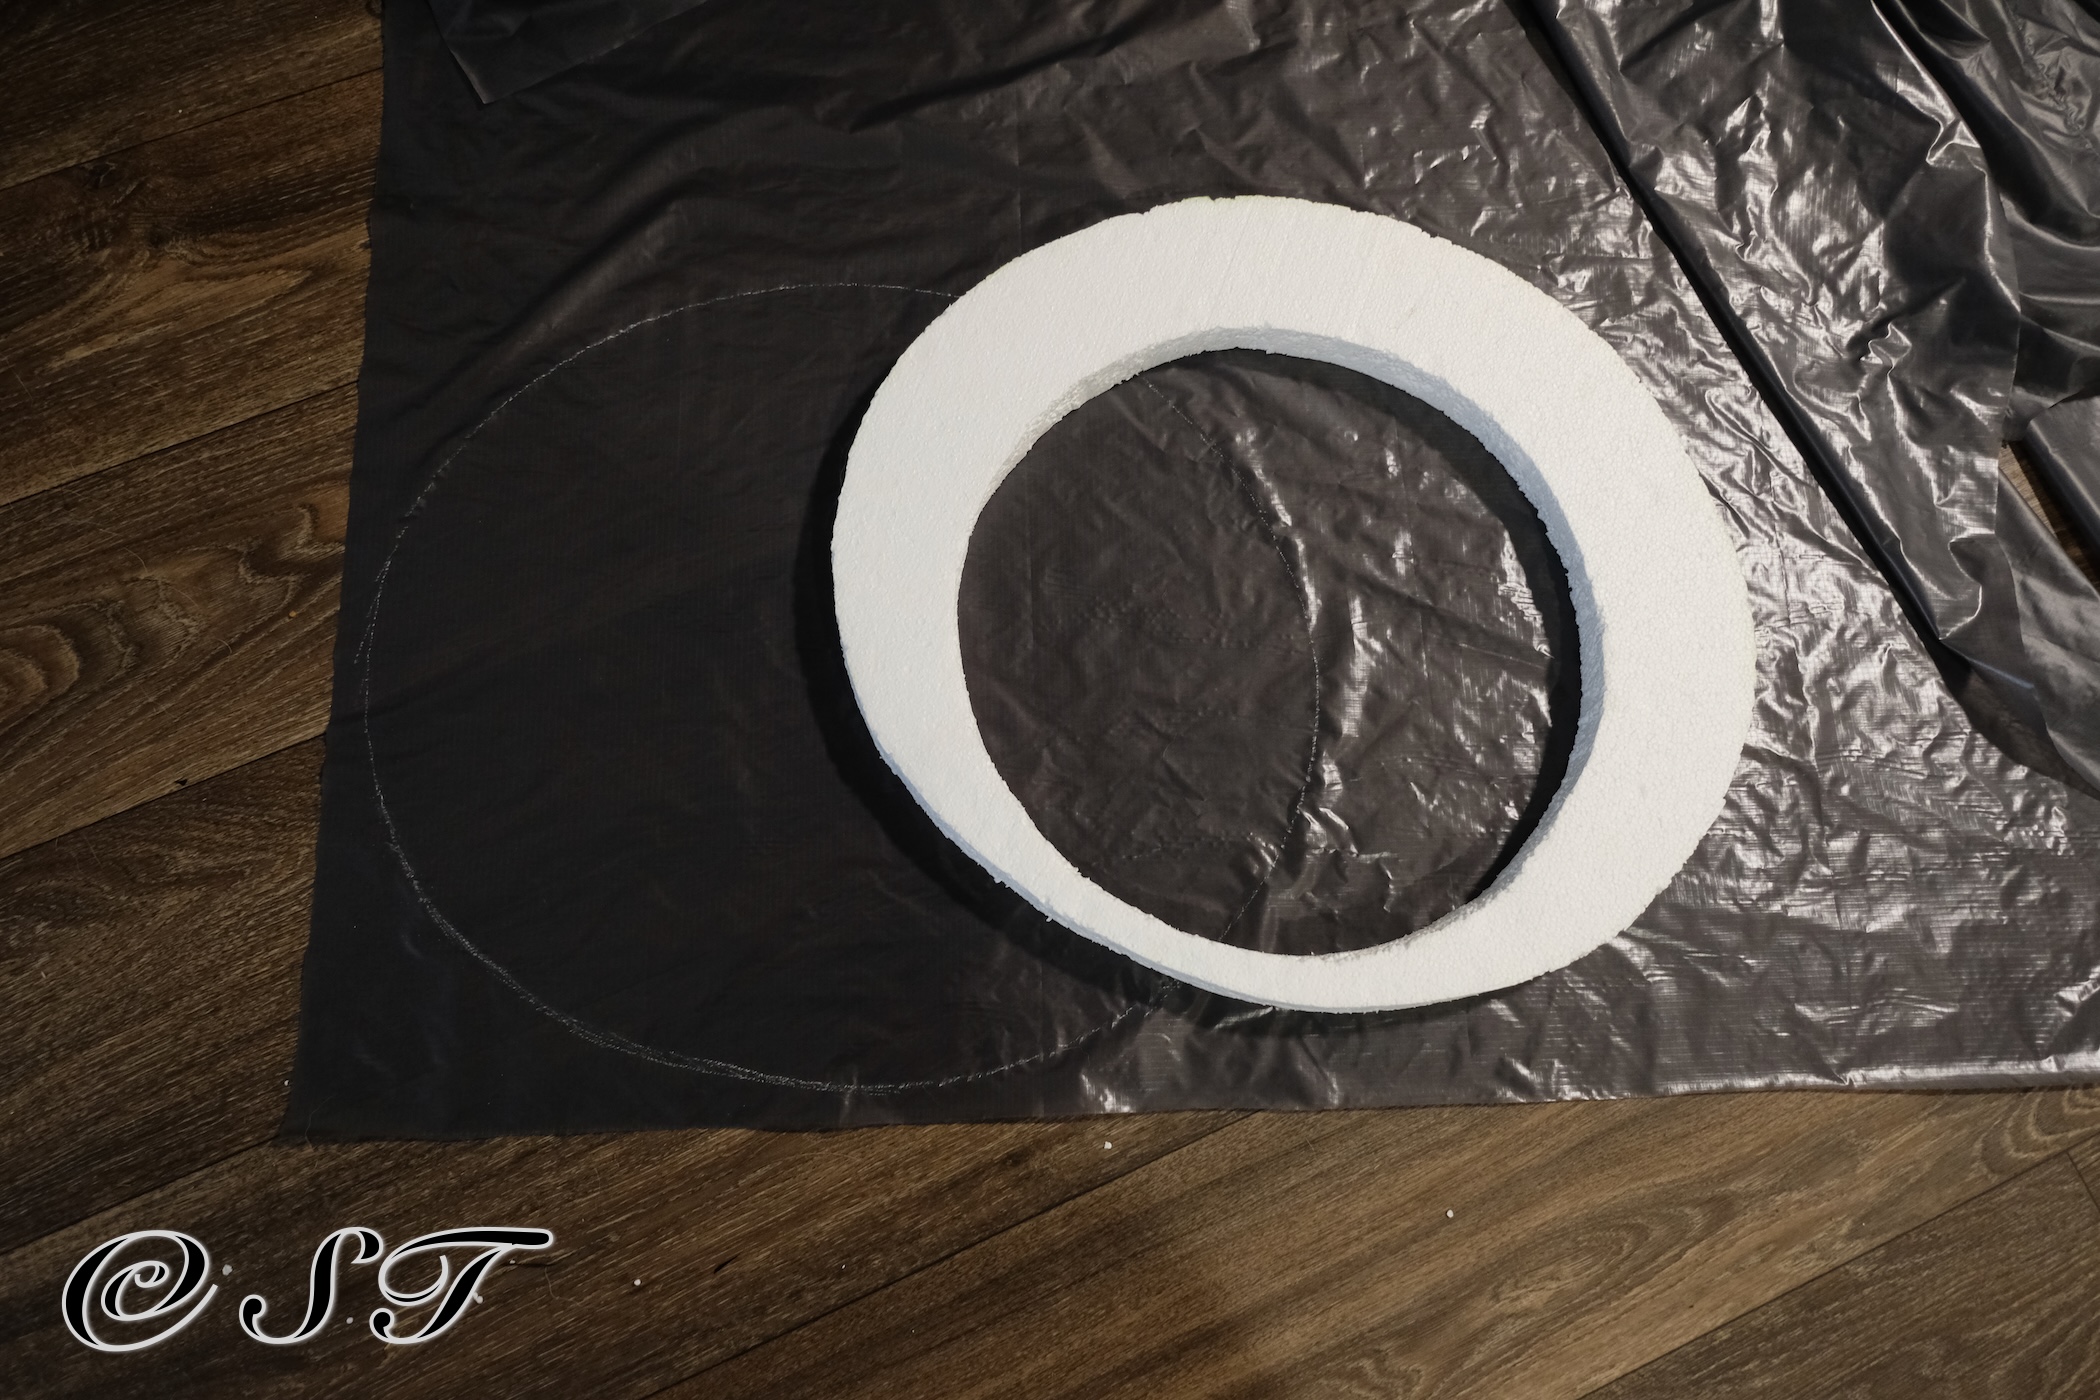
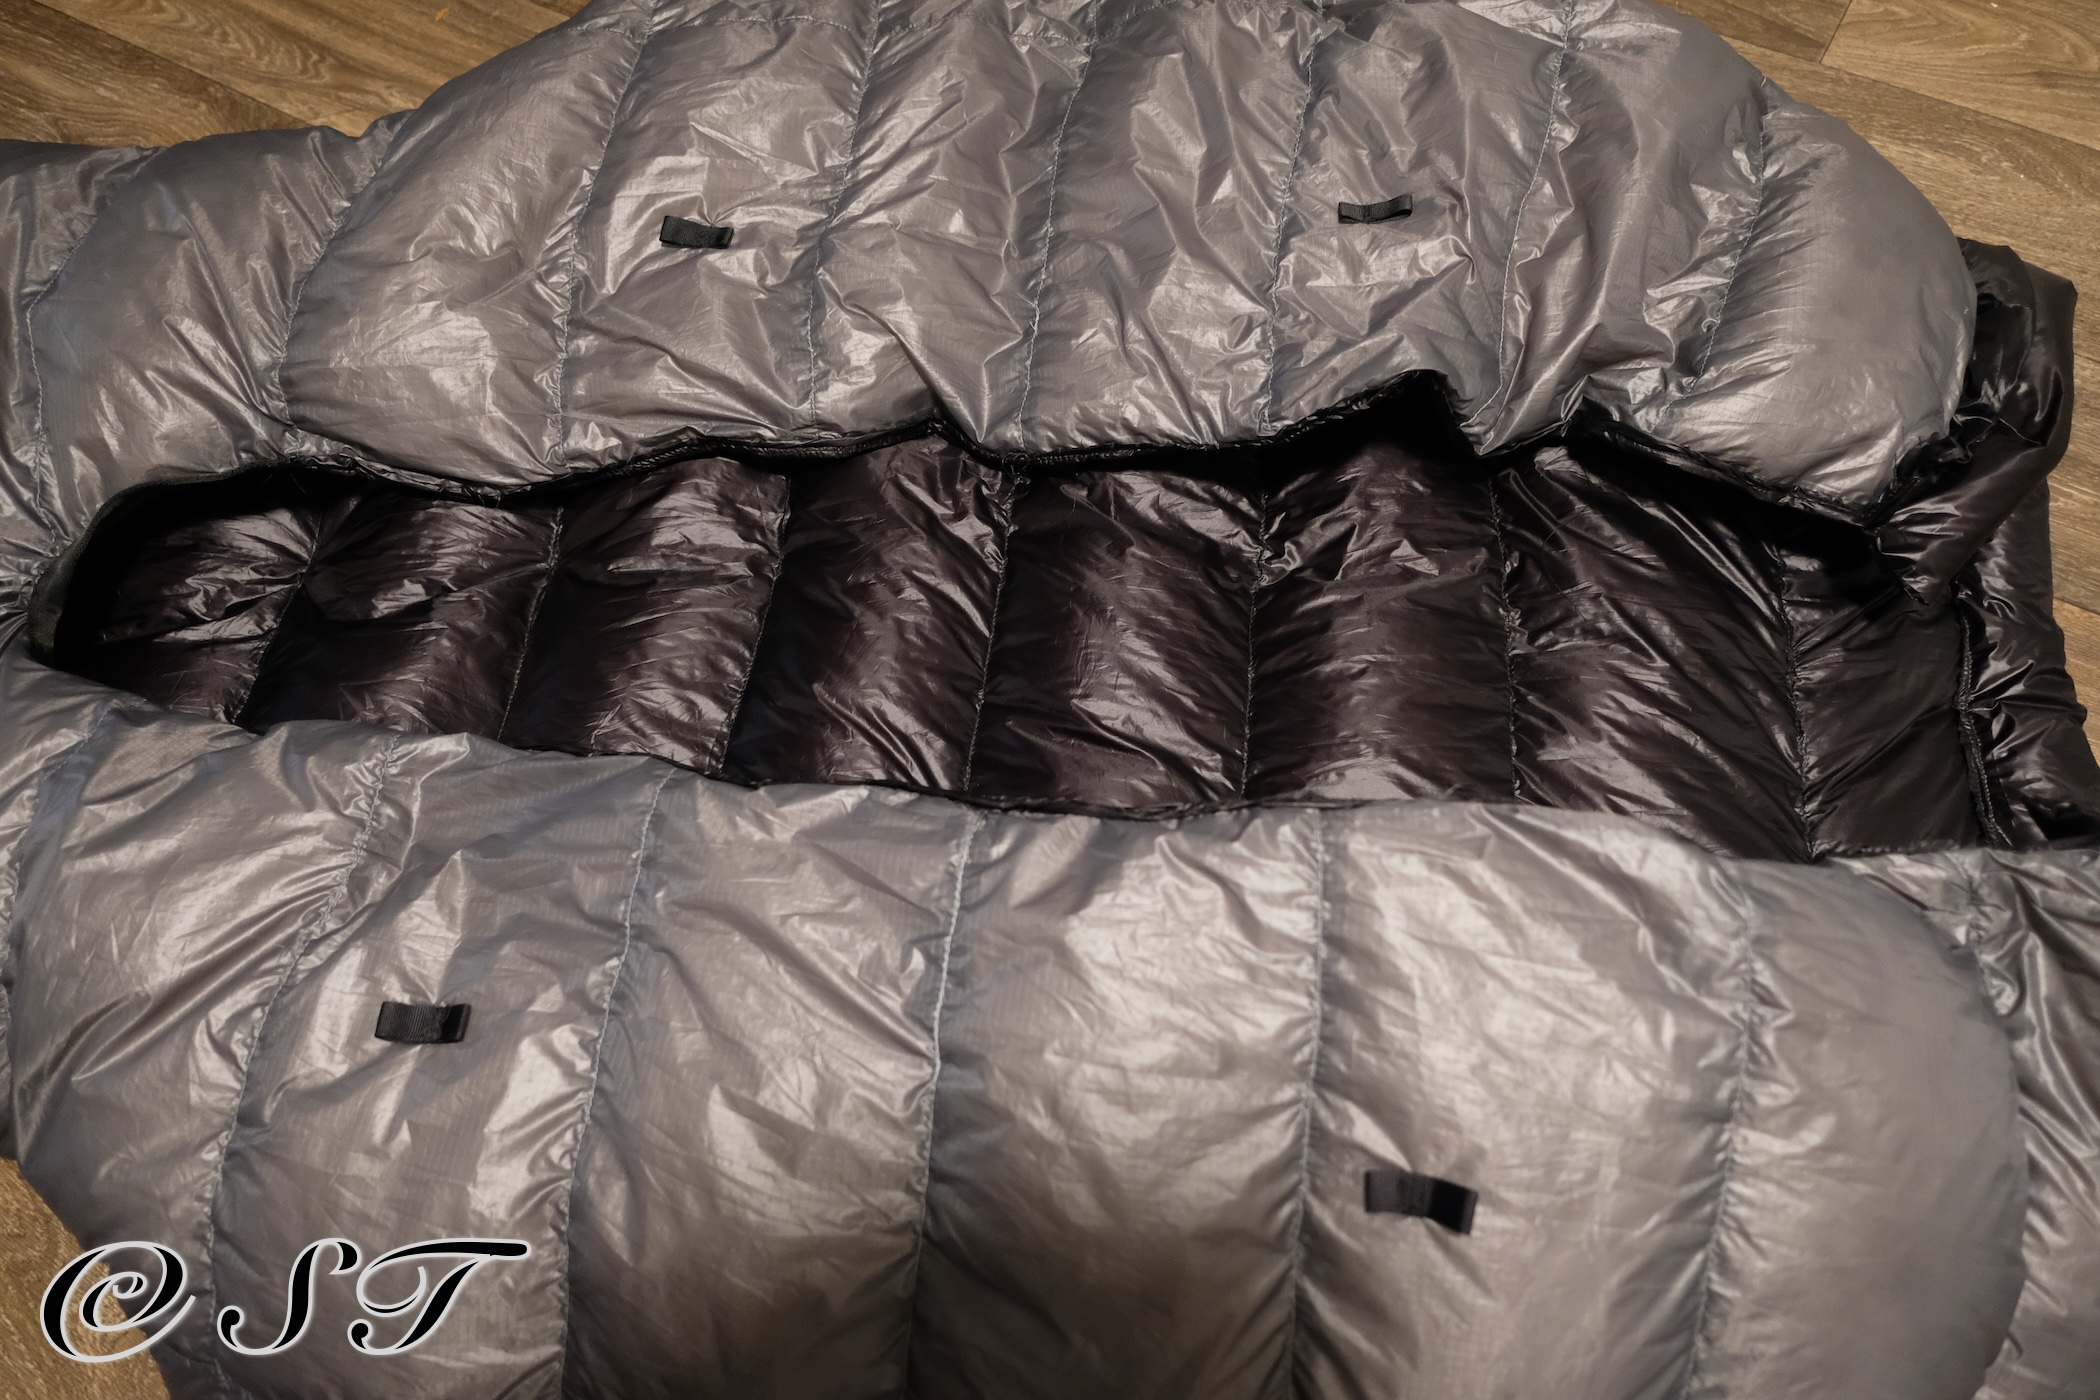
Then I attached the foot box closure and connected the liner to the shell and sewed the baffles. Note that baffles get narrower near to bottom of the quilt (differential cutting. Maximum baffle separation is 3 inches, but with the puff of the fabric, the baffle depth is about 3.5 inch. This means theoretical effective temperature around 15 degrees Fahrenheit.
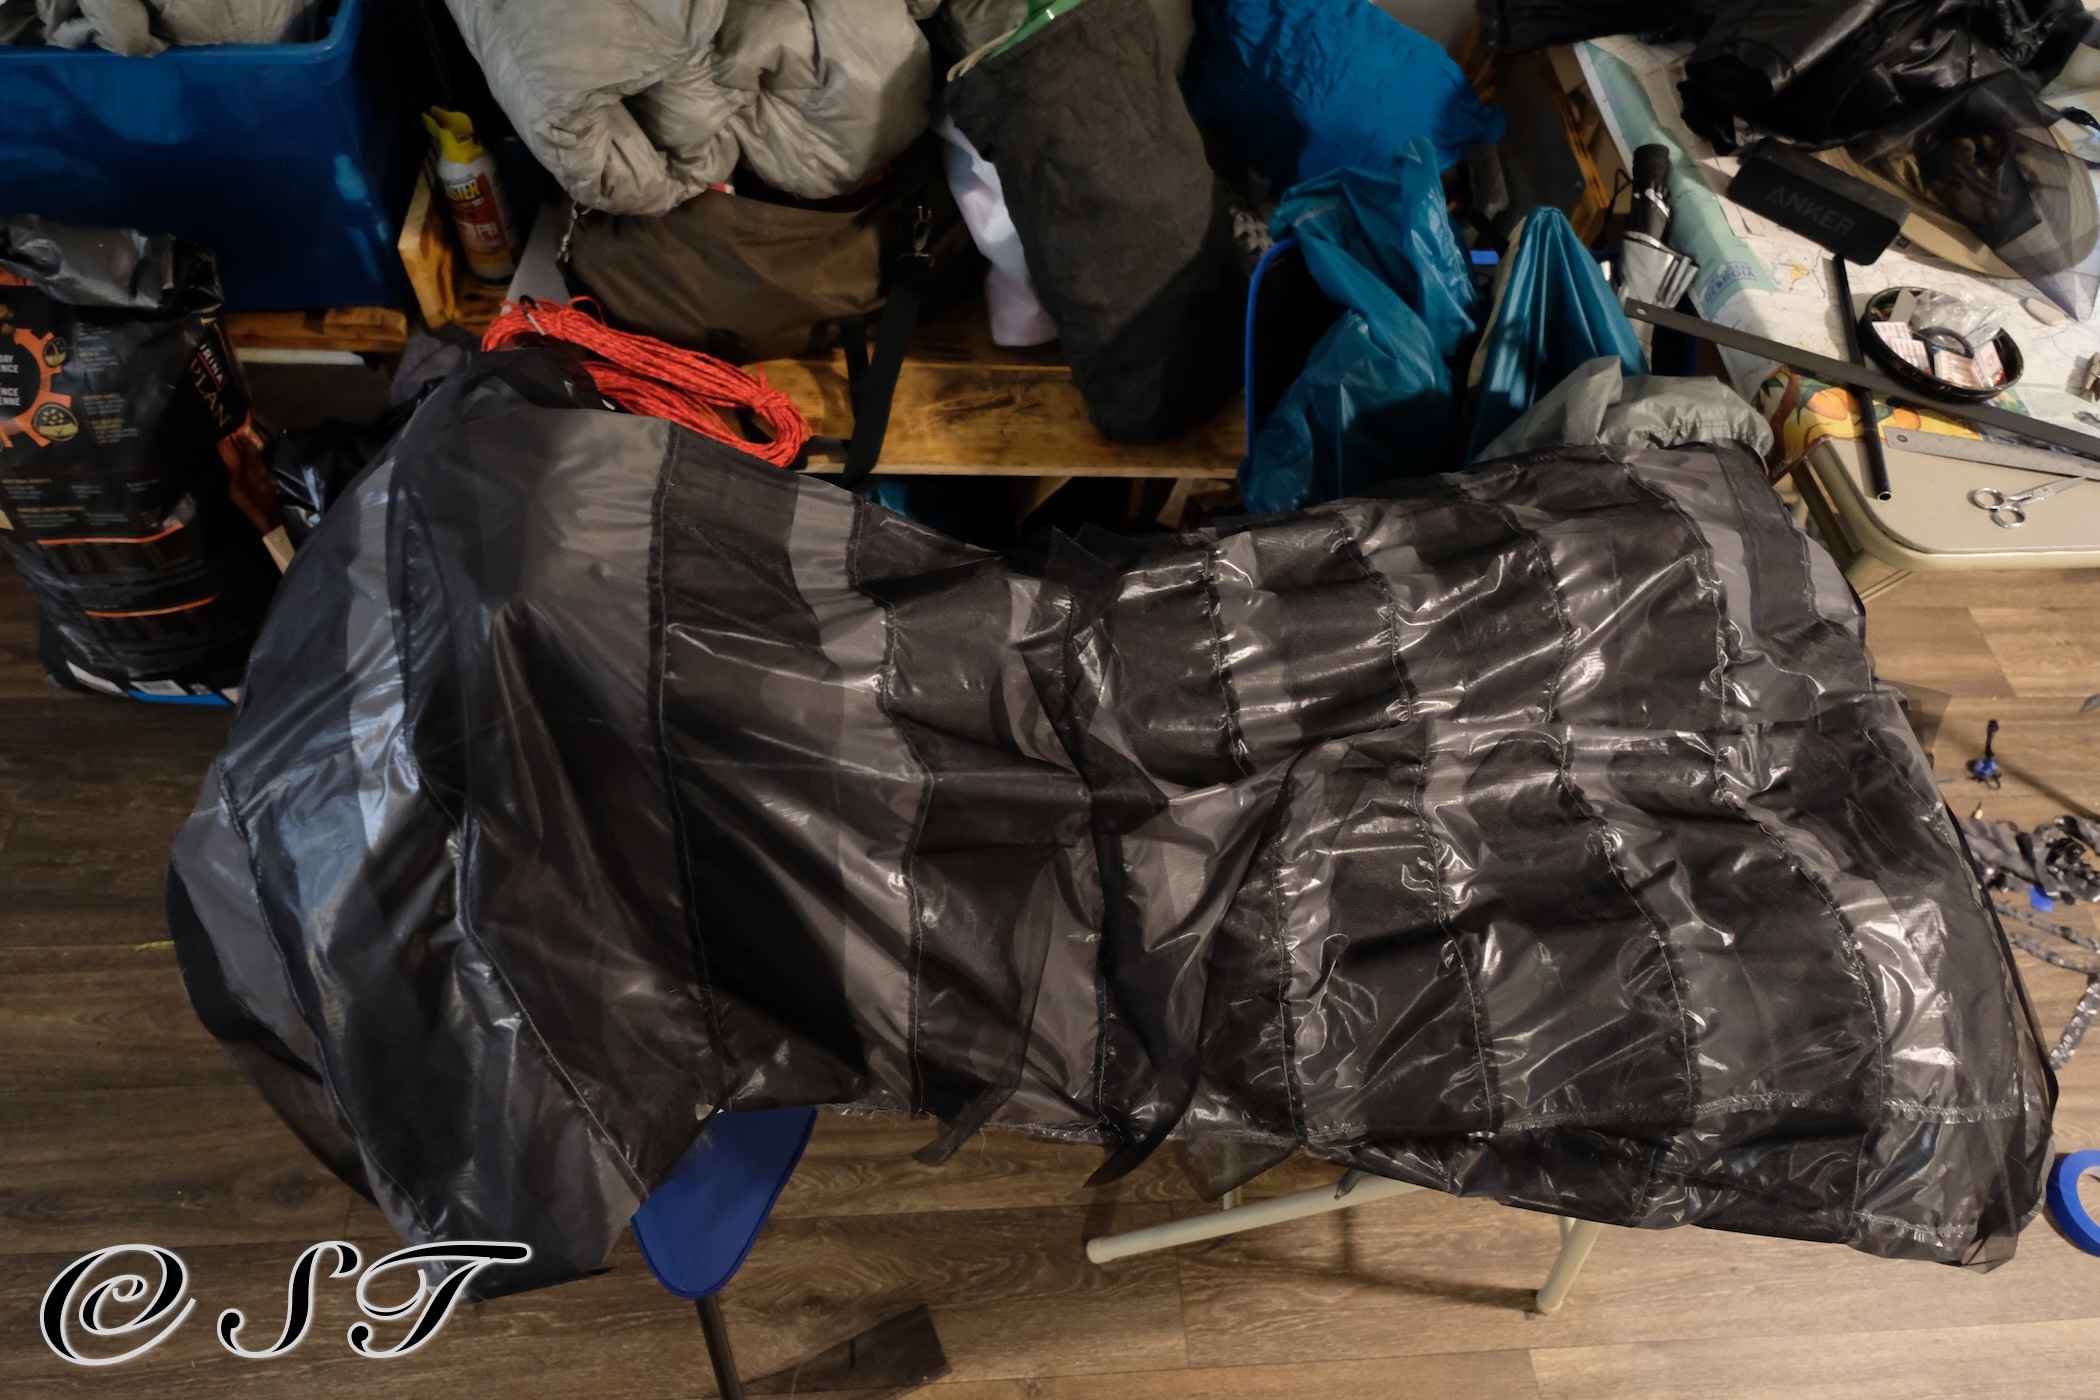

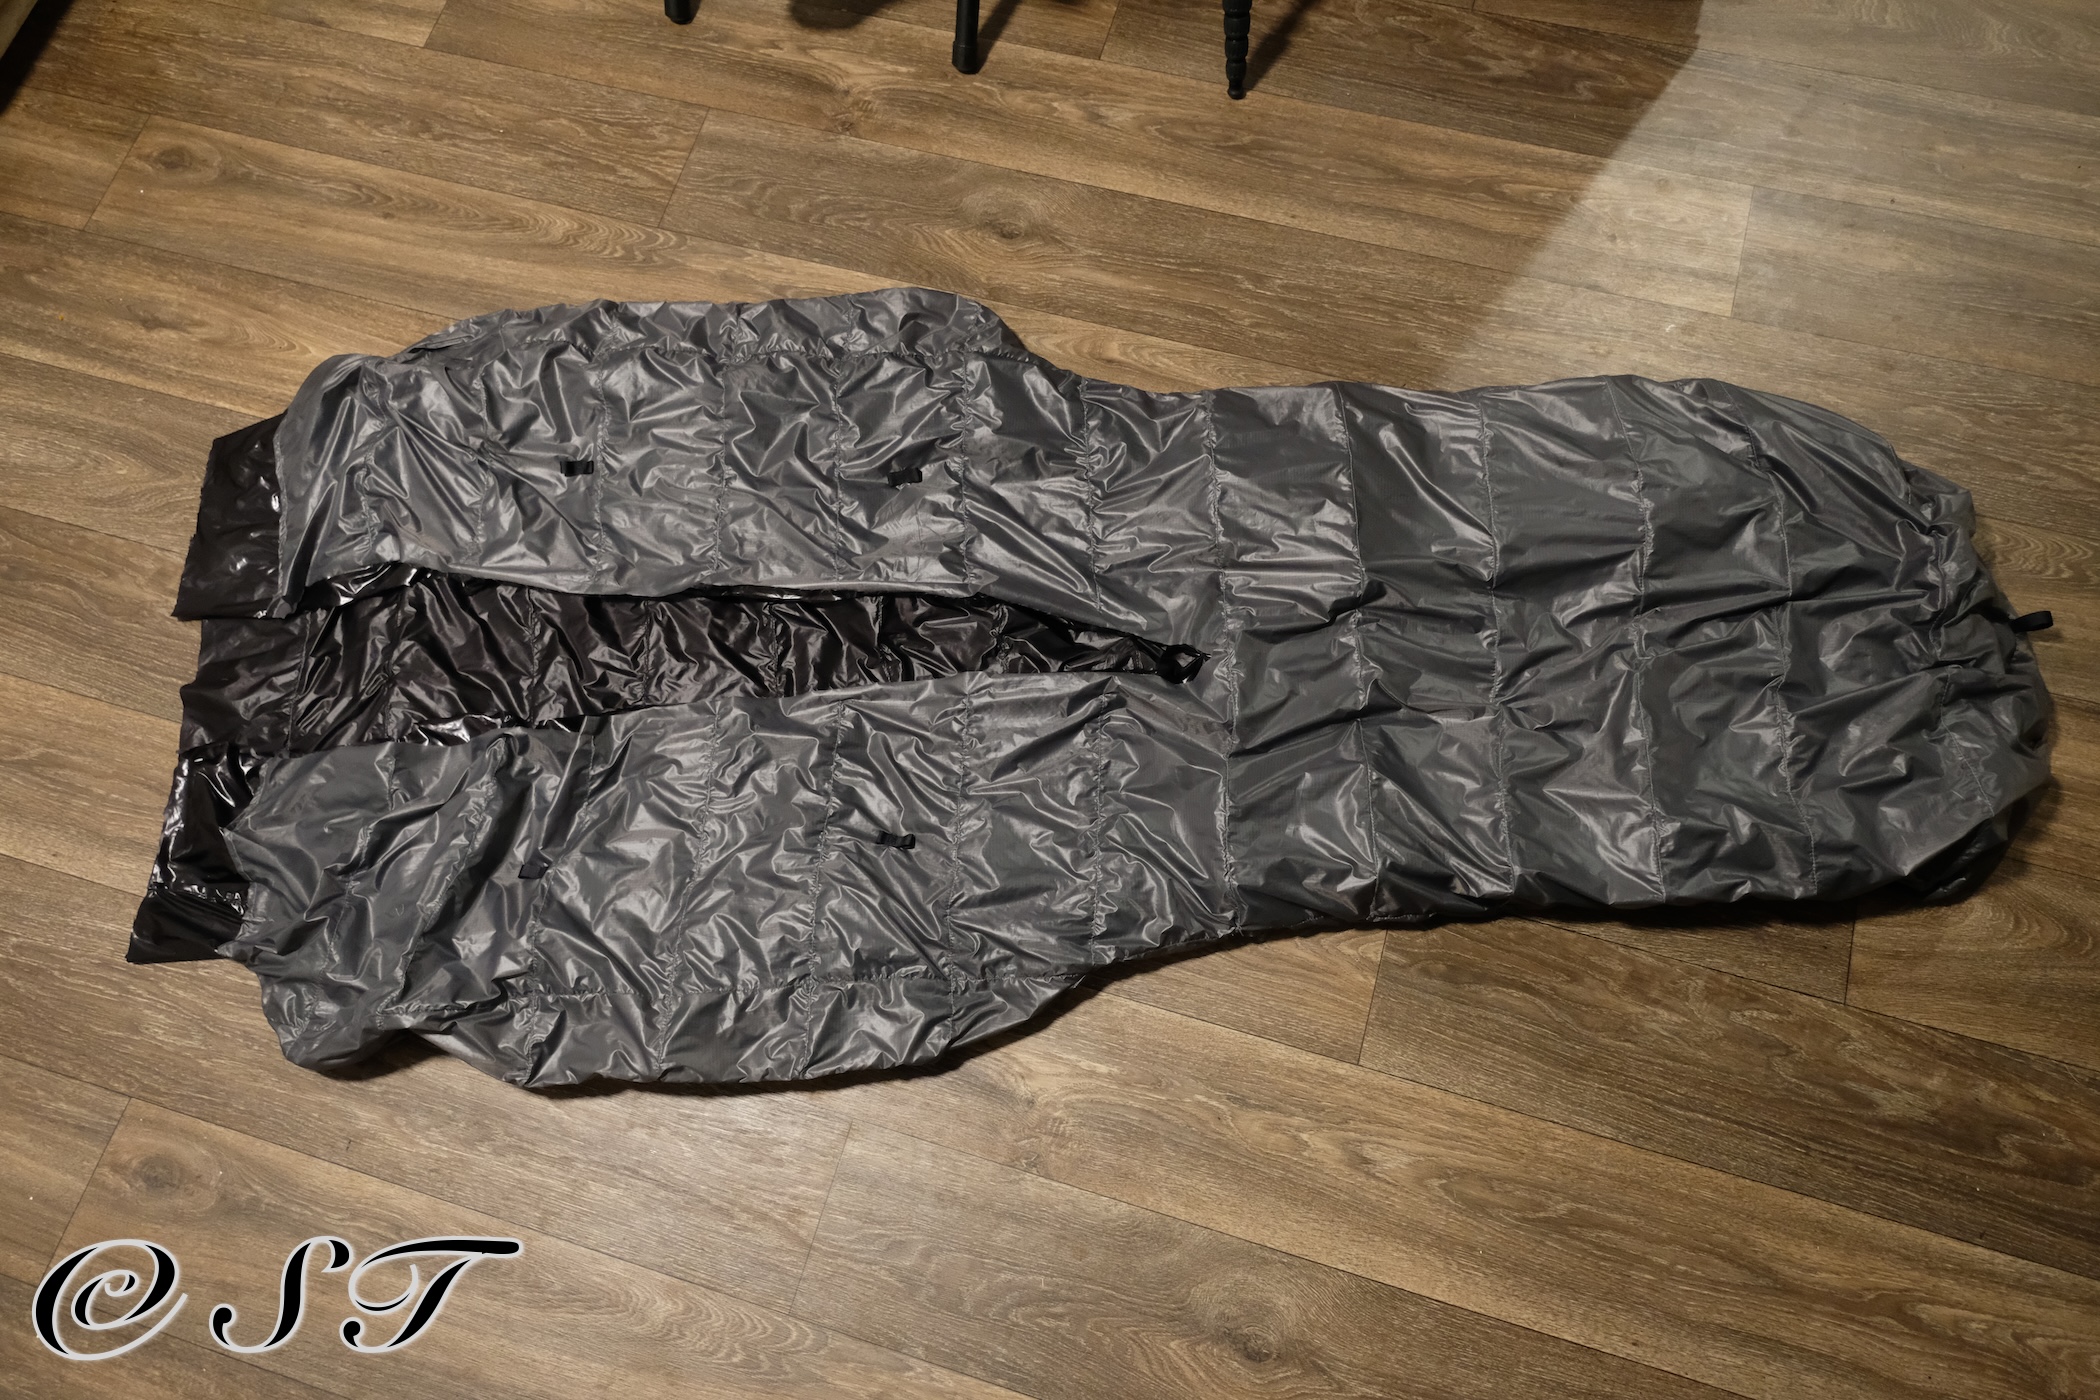
Part VI- Filling with down: Just when I finished the sewing, washed the fabric and dried it out, the down order arrived. Filling with down is a messy process. People use industrial vacuums or pipes to fill out the baffles with down, but I just filled the baffles by hand. I kept the down inside the cardboard box it arrived in and it was nice and clean enough. I used clips to close the holes temporarily and adjust the down filling. After I achieved a nice puff and uniform distribution, I sewed up the openings.
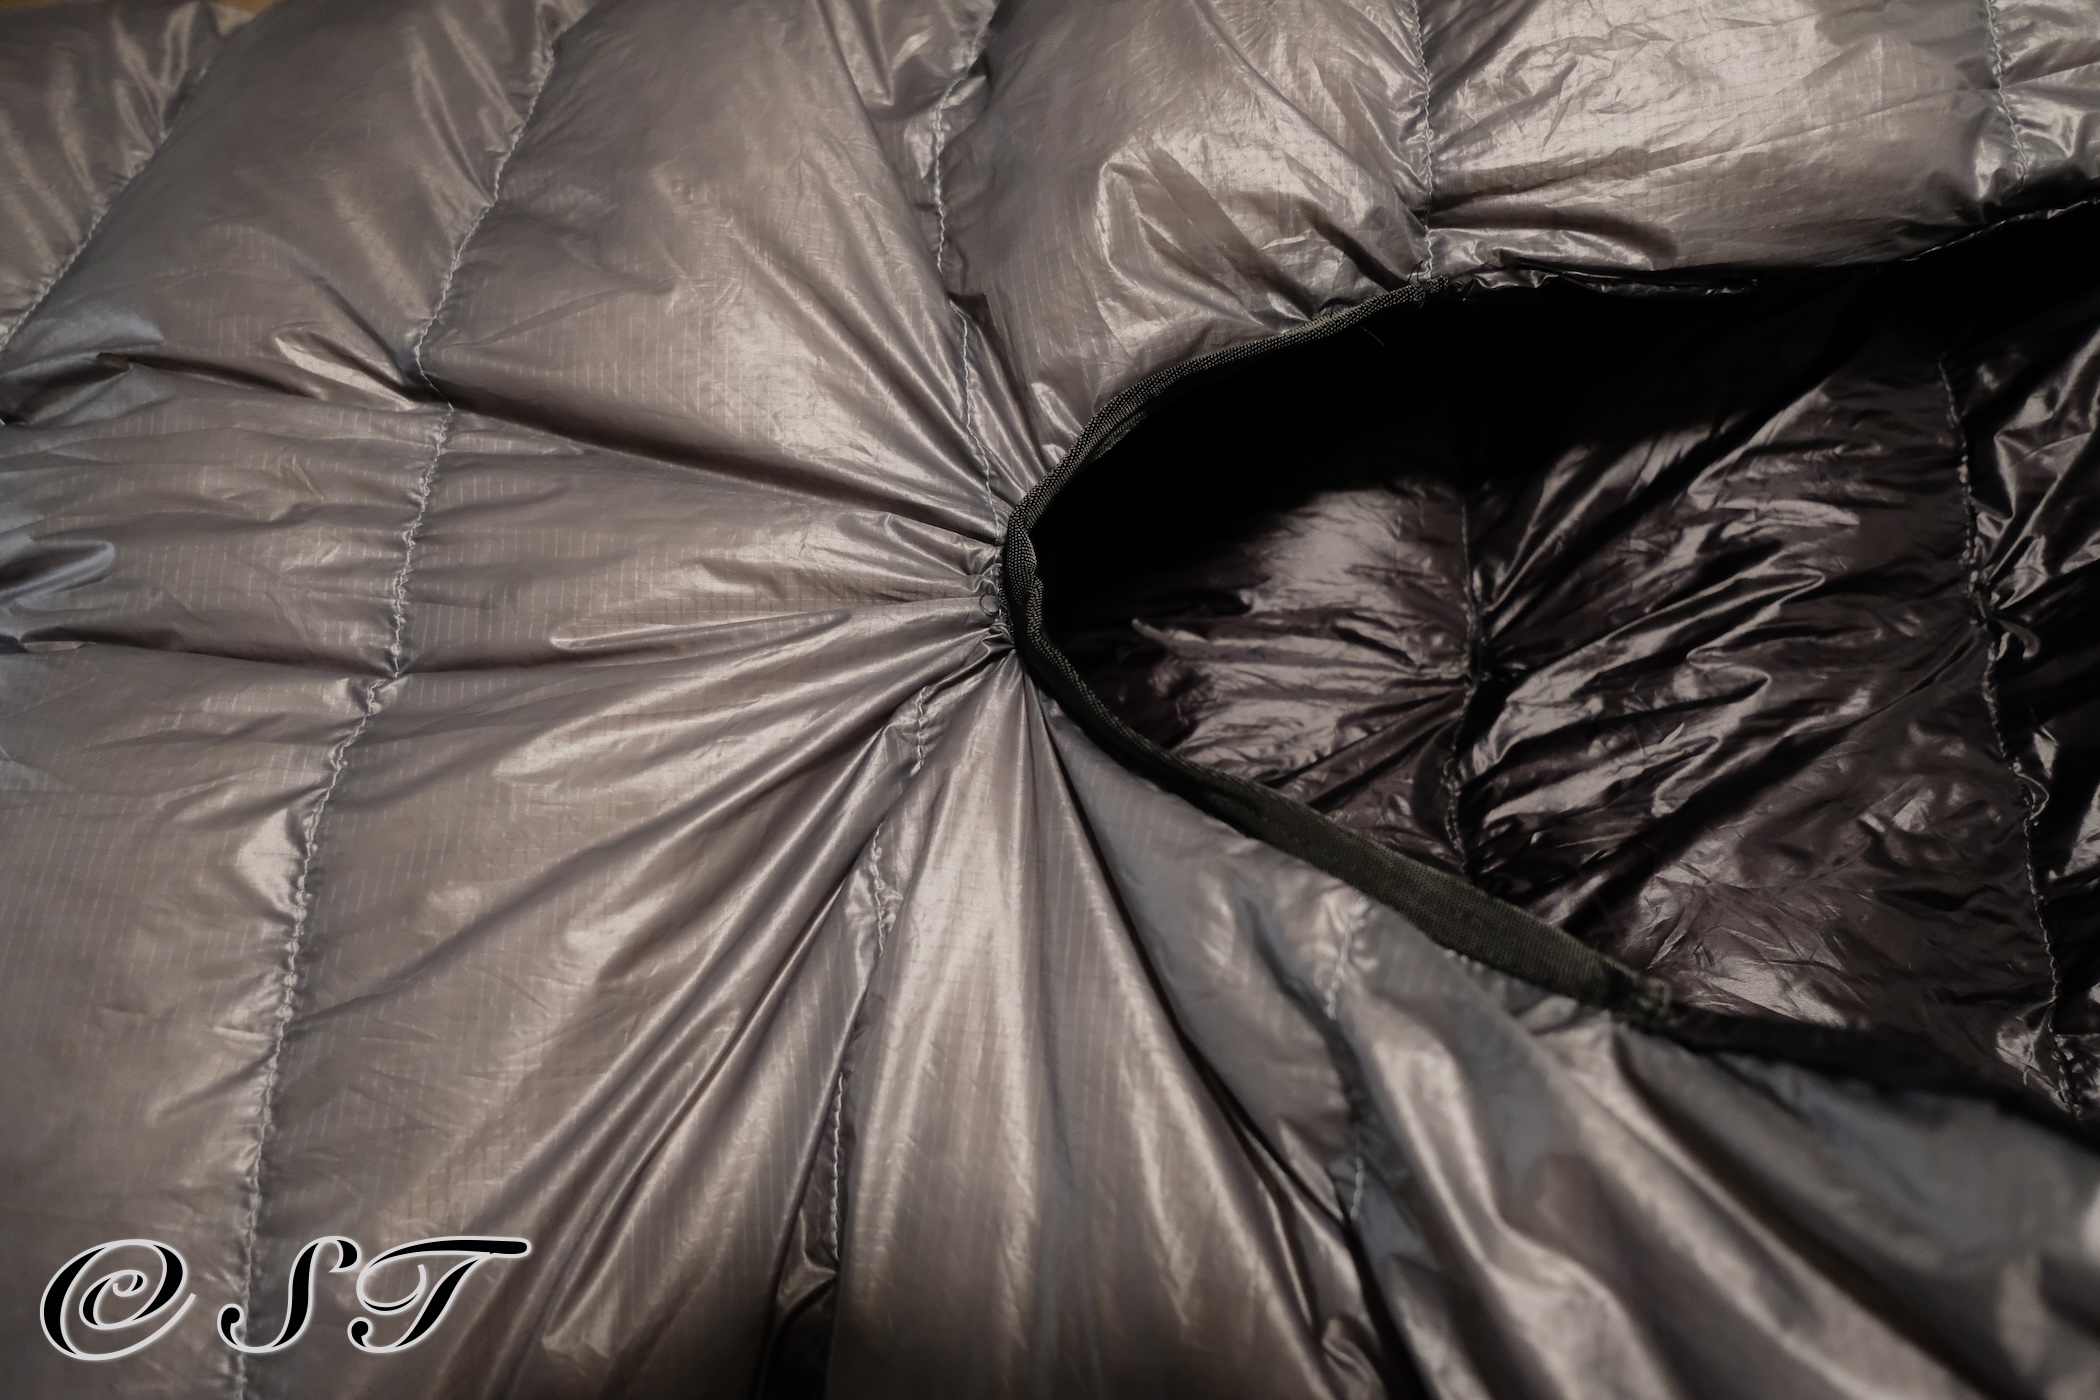
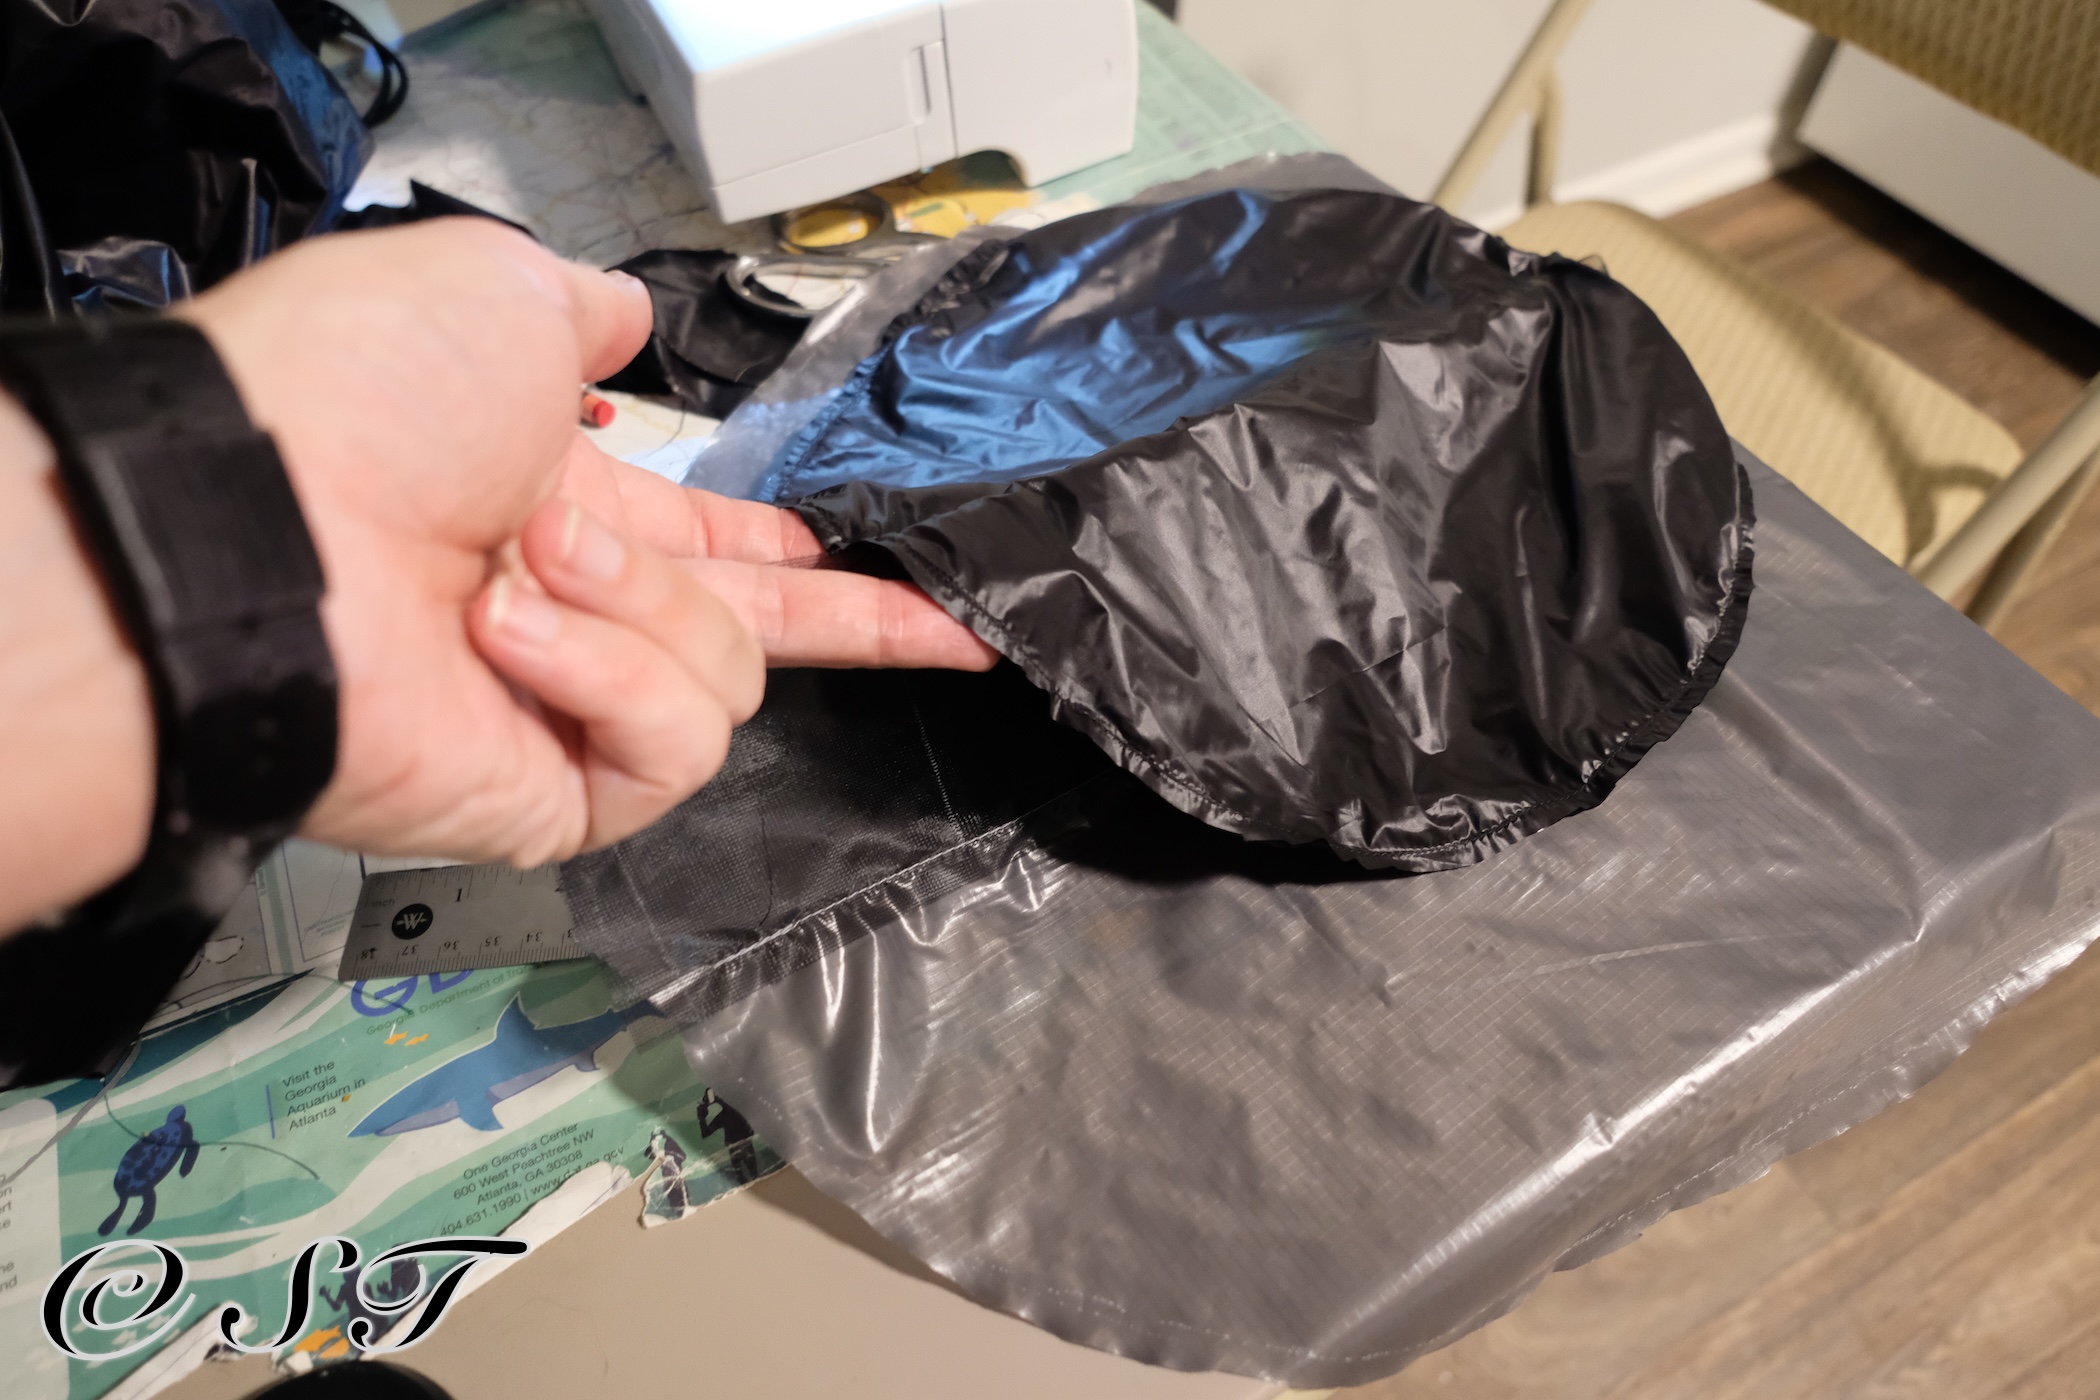
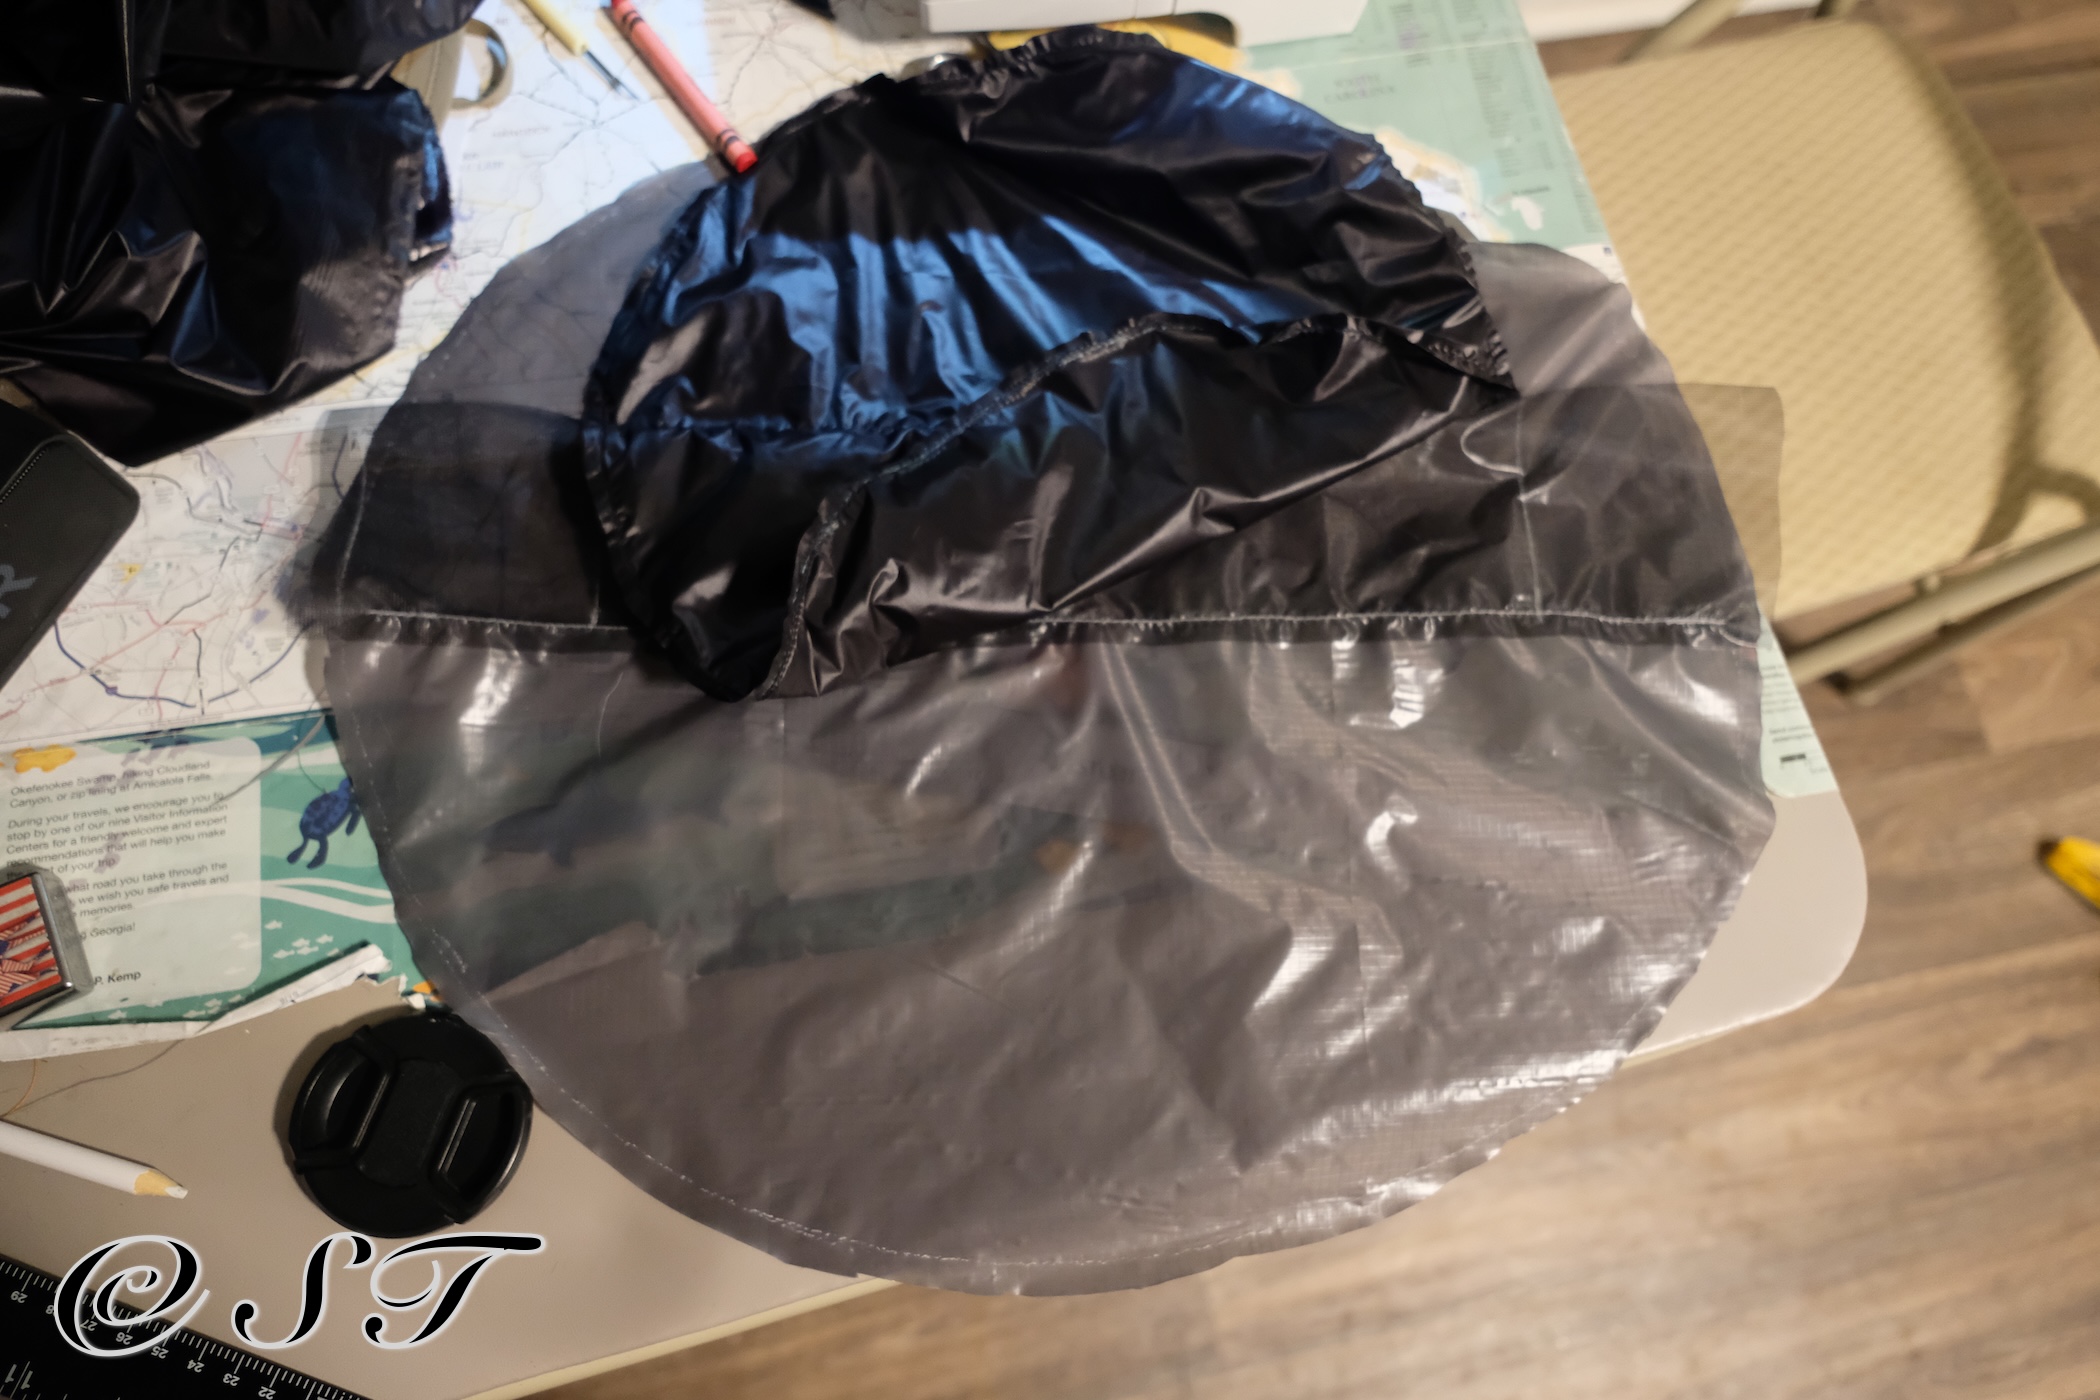
Finished the neck/shoulder area with an elastic adjuster and a snap bottom. Ideally the snap bottom should have plastic covering - I will use the quilt in very cold weather, and a piece of metal is the last thing I would want to touch!- but I couldn’t find any good option. So I got the regular metal snap, and I tried to cover it as much as I can.